
Setup email hosting on AWS with WorkMail

Cloud Engineer | AWS Community Builder
Overview
Amazon WorkMail is a secure, managed business email and calendar service with support for existing desktop and mobile email client applications. Users can access their email, contacts, and calendars using the client application of their choice, including Microsoft Outlook or any client application supporting the IMAP protocol.
Pricing
Amazon WorkMail costs $4.00 per user per month and includes 50 GB of mailbox storage for each user. You can get started with a 30-day free trial for up to 25 users.
Note: If a user is created after the first of a month, then the monthly fee for that mailbox will be adjusted on a pro-rata basis from the first day it was active to the end of that month. If a user is terminated or deleted before the end of a month, then the monthly fee for that user will still apply through the end of the month.
Let's get started..
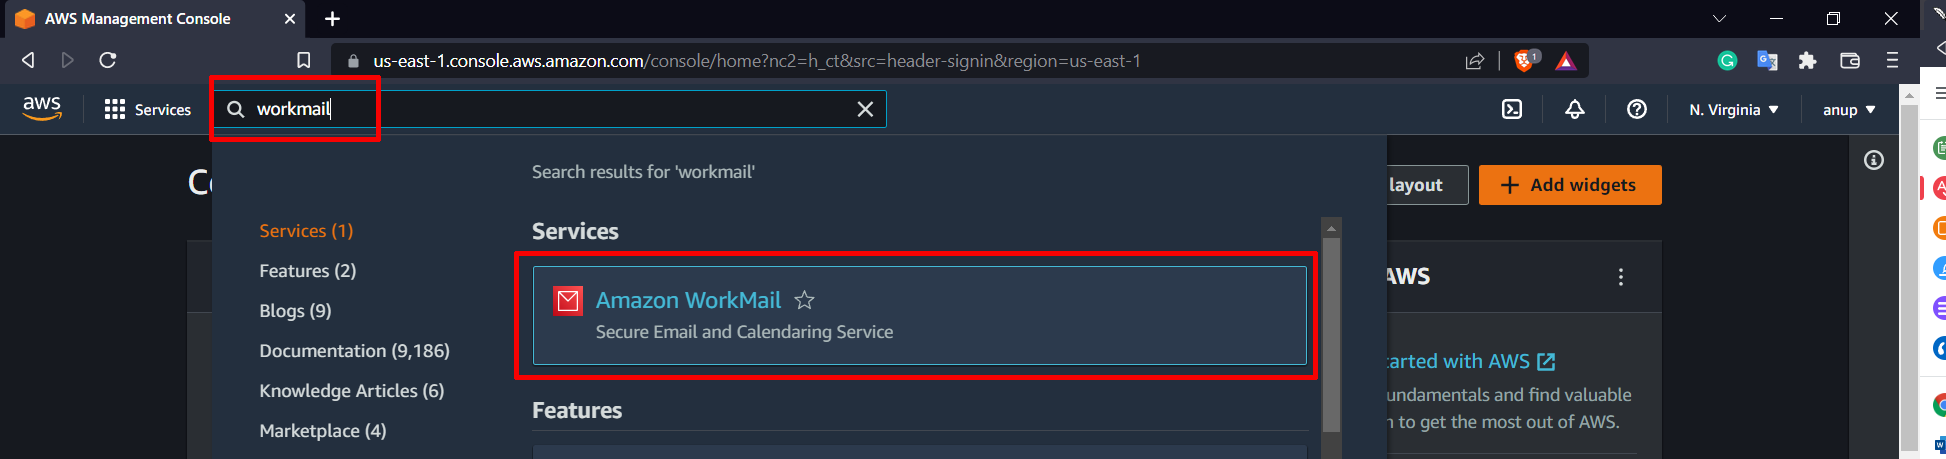
step1: Login to your AWS account and search for WorkMail
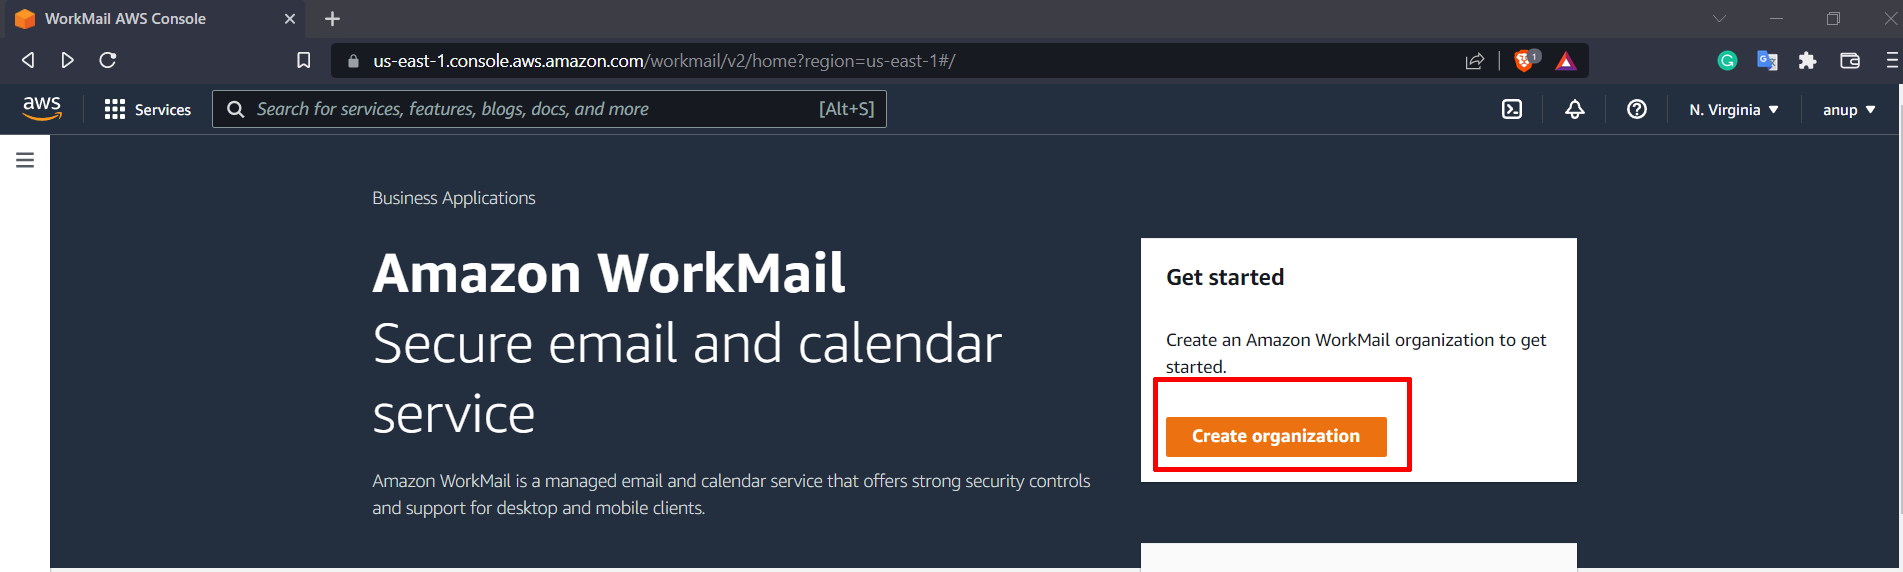
Step2: Click on Create organization
Note: There are several options, but I am using my domain parked on Route53 . Don't worry, you can later add the external domain as well if you don't have domain now.
Select an Existing Route 53 domain
Choose Route53 hosted zone
Setup alias
Create organization

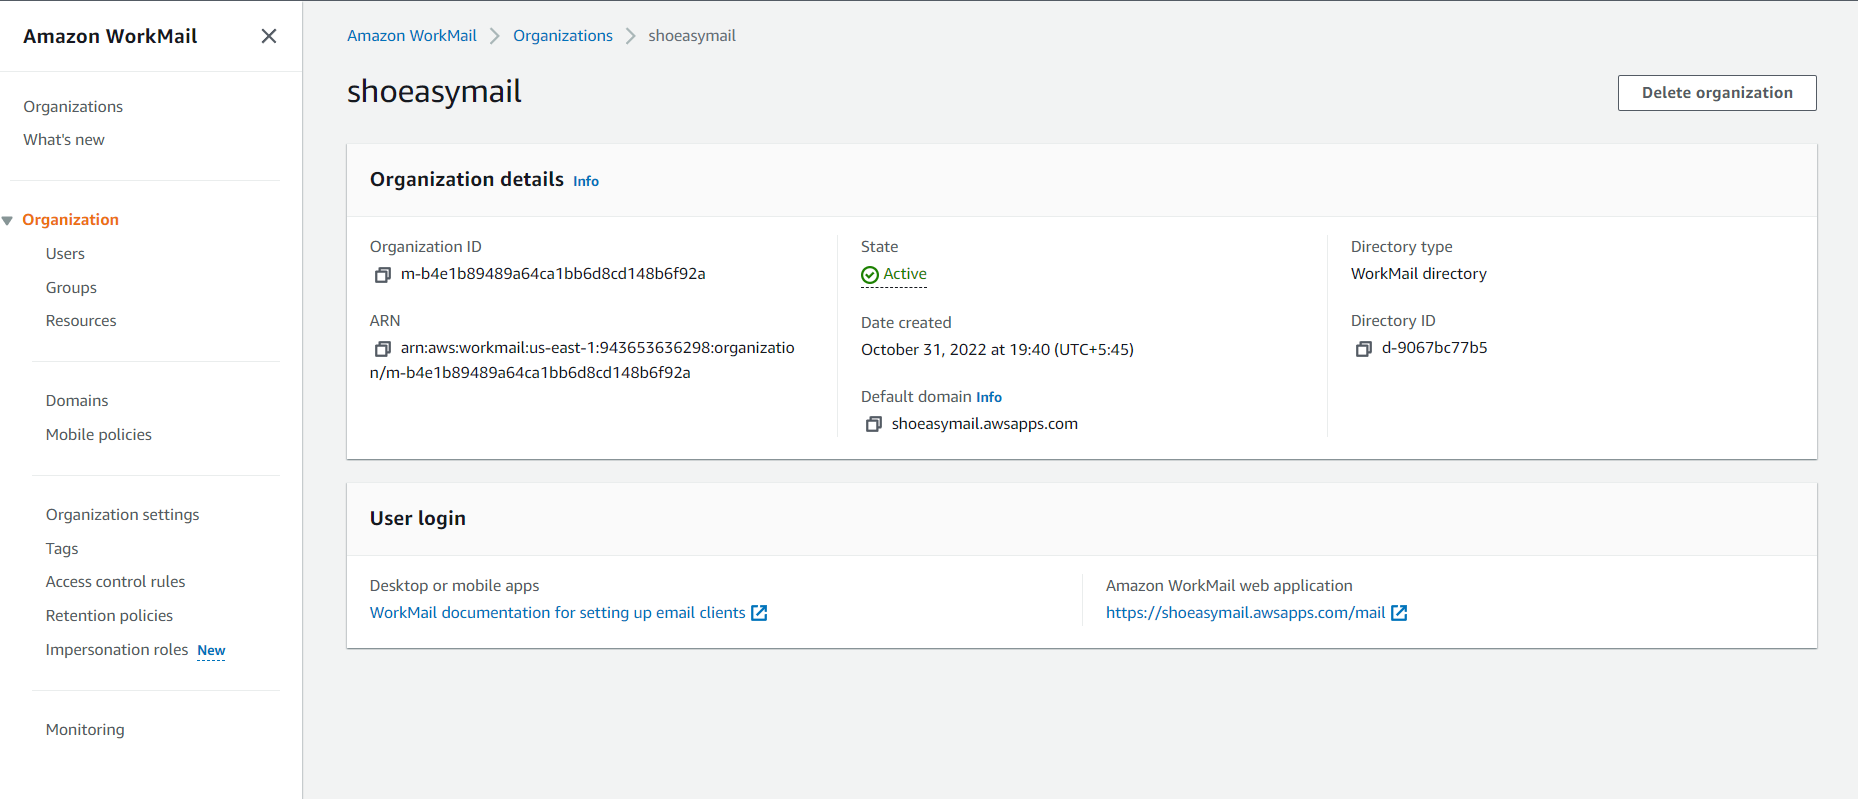
You will see the dashboard like below:

Step3: Adding custom domain
- Click on your organization name
You will see a dashboard like below.
Click on Domains on the dashboard left bar .
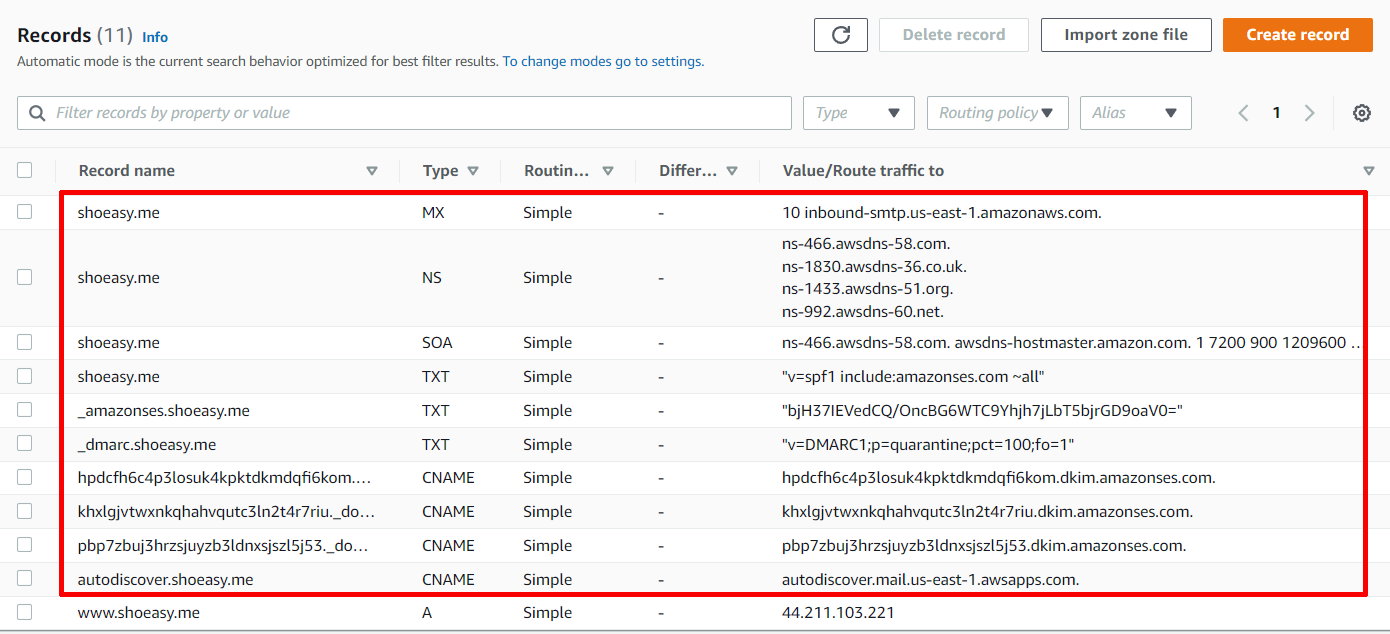
Note: I have already added my domain shoeasy.me but you will see domain like ailas.awsapps.com

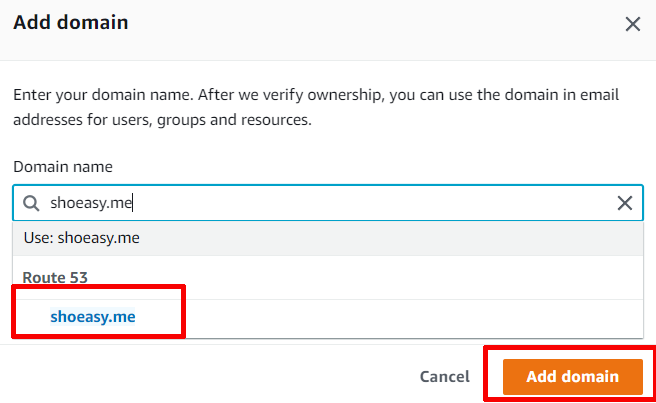
Click on Add domain (optional if you don't want custom domain email)

Choose the domain and click Add domain
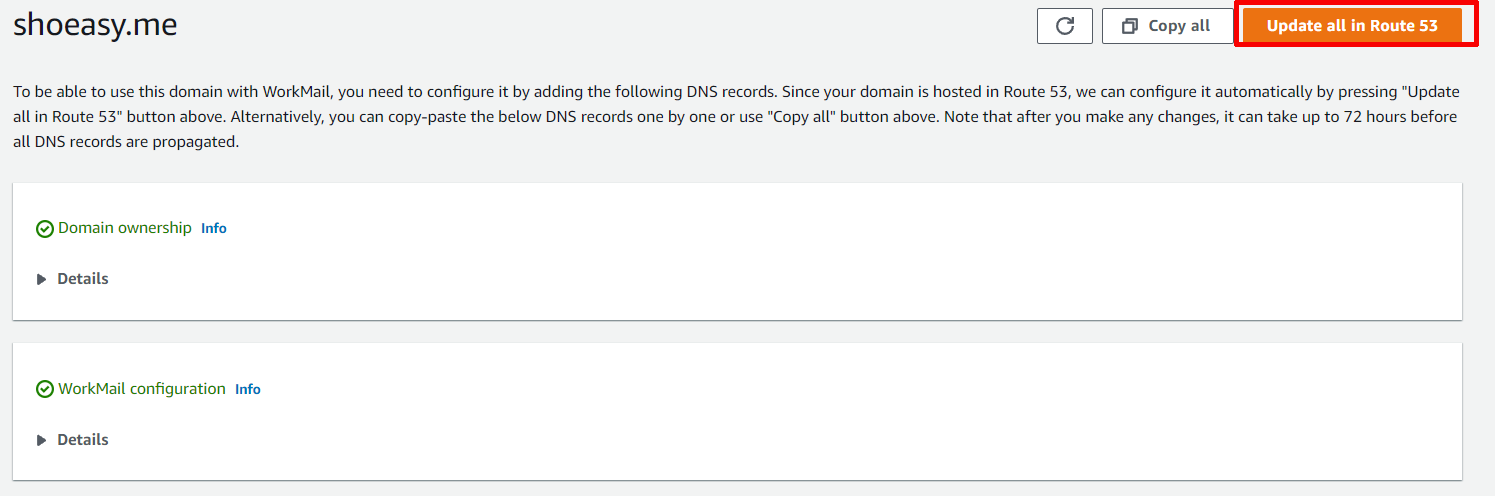
Click on Update all records in route 53
This will add all the DNS records required for WorkMail automatically. After records are added you can set your domain as default domain .
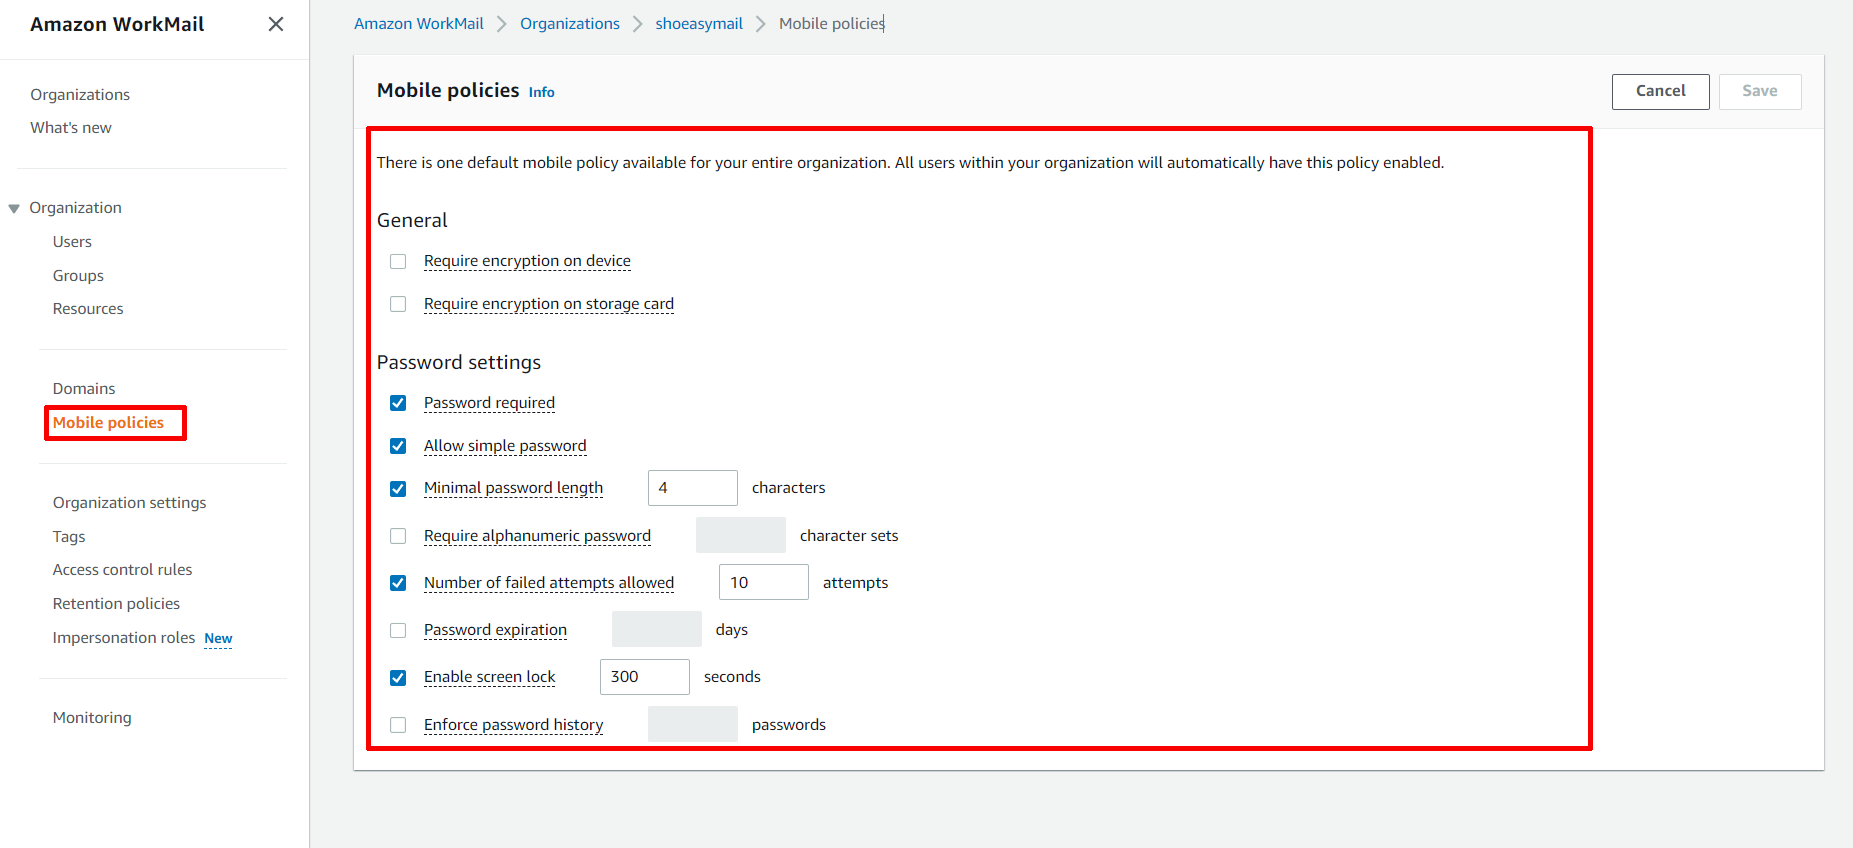
Step4: Setup Mobile policy (optional)
Here you can set password policies and other mobile policies. I kept all of the defaults, but you can change them to suit your needs.
Step5: Creating users
Click Users from the left menu of your organization dashboard. You see a page like the below

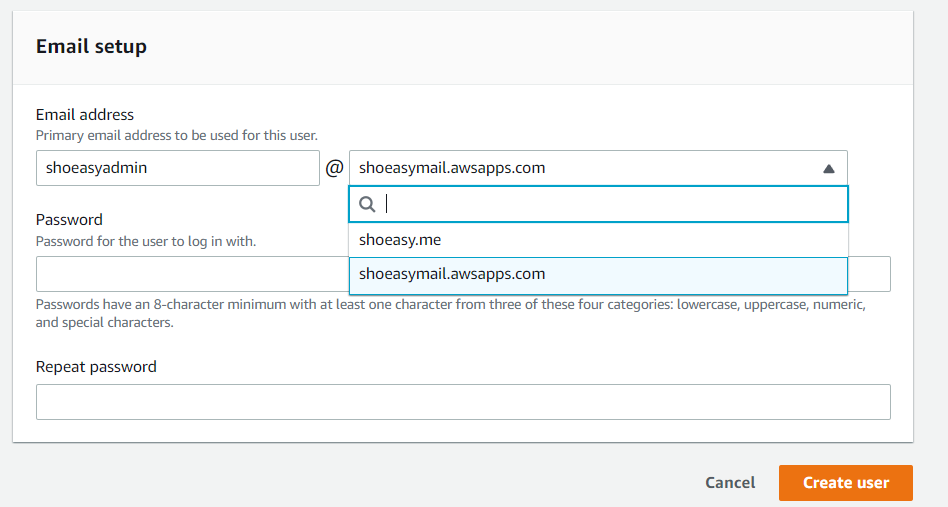
Click on Create user and create a user by filling in the required details.

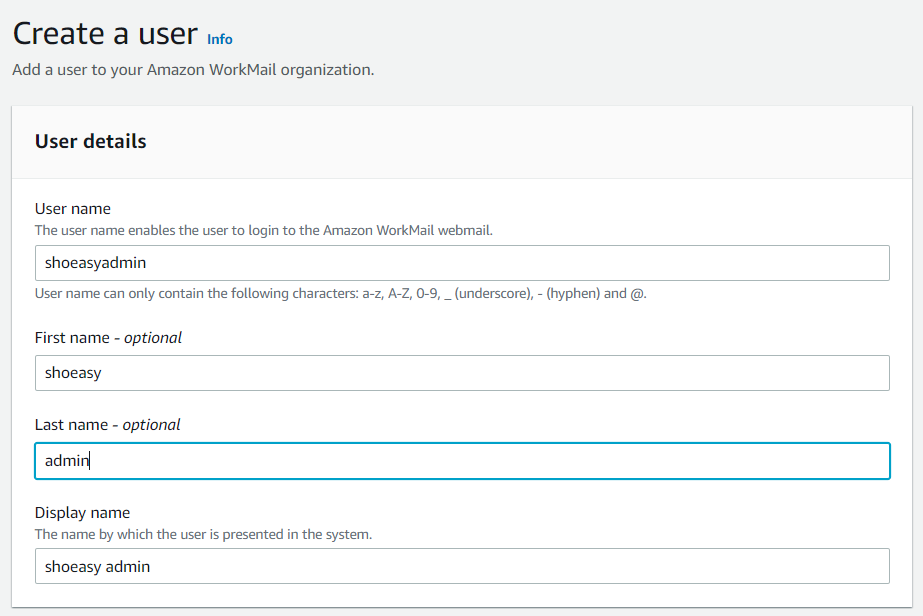
- On email address choose your custom domain (If you havenot added custom domain go with domain provided by aws) , choose password and create user
You have sucessfully created a user . You can add more user according to your needs.

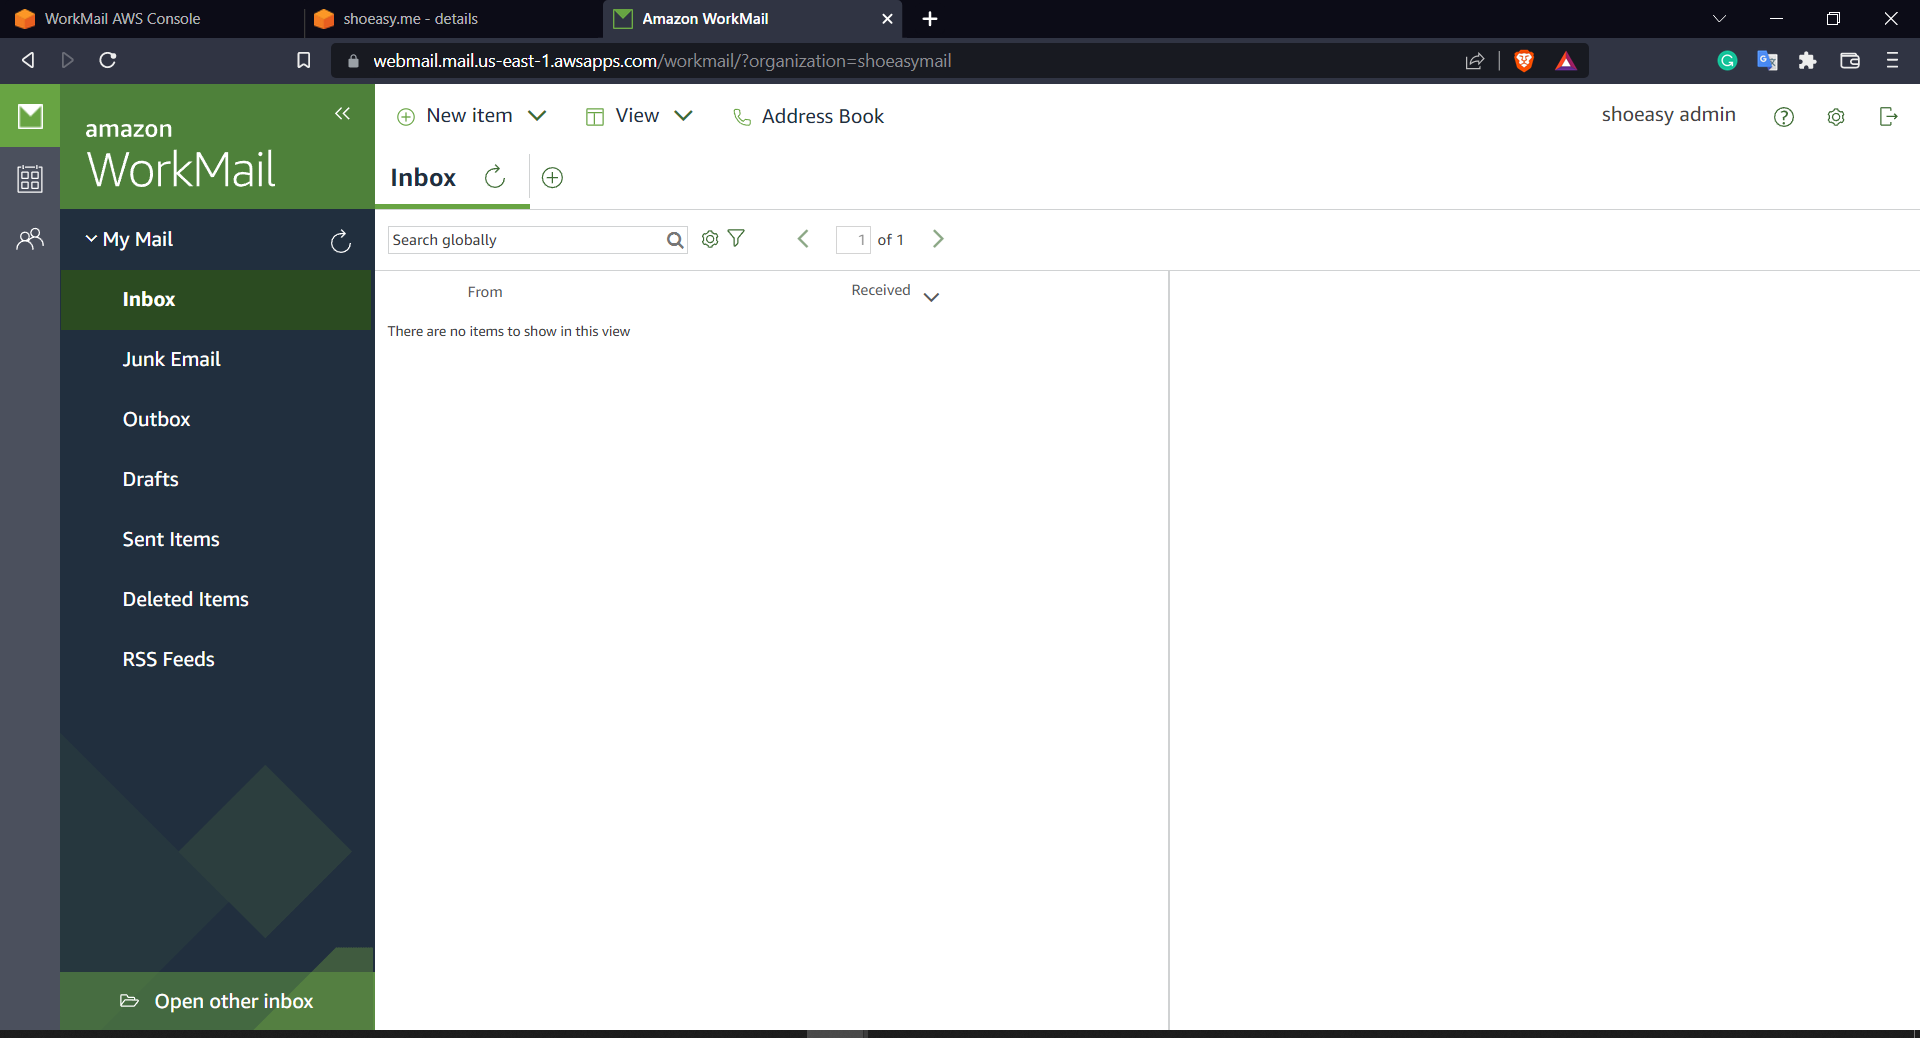
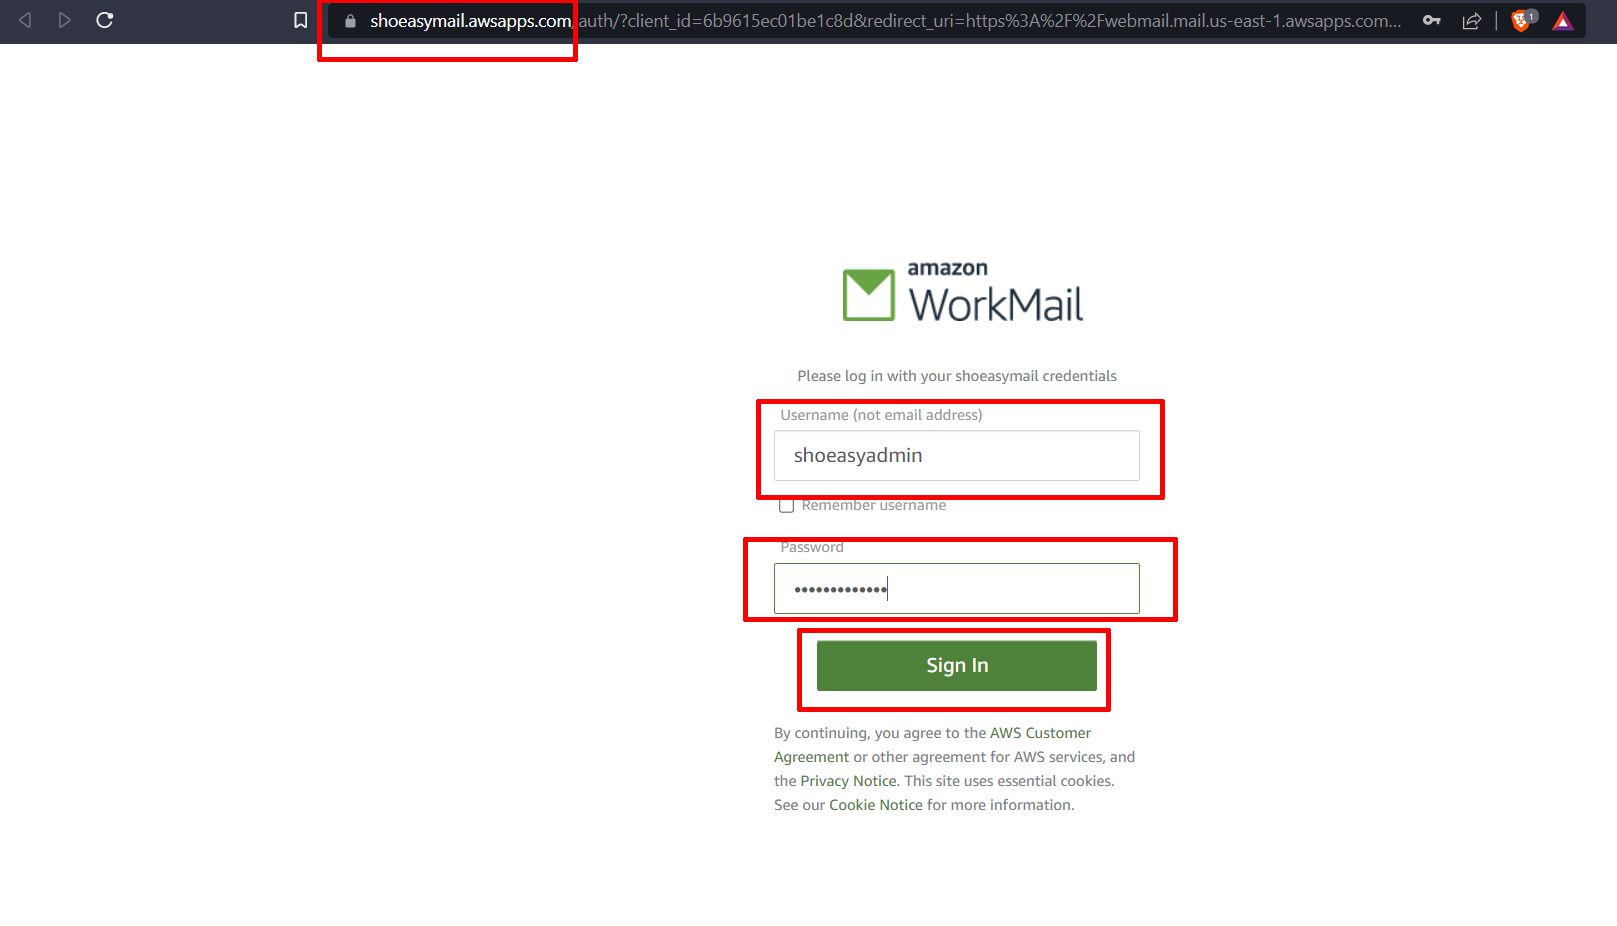
Step6:User login
You will find a login link on your organization dashboard (say https://shoeasymail.awsapps.com/mail) go to the address.

Use the credentials you used before while creating mail to sign in
You are all done you can receive and send mails now