
How to host a static website in AWS EC2

Cloud Engineer | AWS Community Builder
Amazon Elastic Compute Cloud is a part of Amazon.com's cloud-computing platform, Amazon Web Services, that allows users to rent virtual computers to run their own computer applications.
In layman's terms, imagine it as another computer in some location where we have remote access. It is designed to make Web-scale cloud computing easier for developers.
Let us Deploy a Static Website in EC2 (Prerequisite: AWS account )
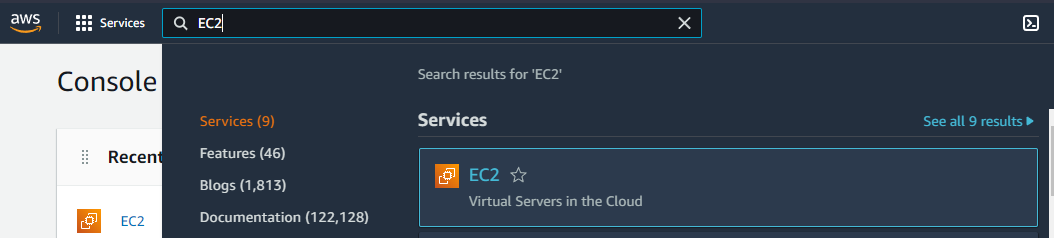
Step1: Goto AWS Management Console, Search for EC2 instance and click on it.
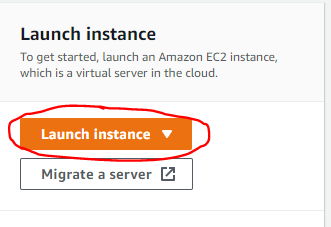
Step2: On EC2 Dashboard Click on Launch instance
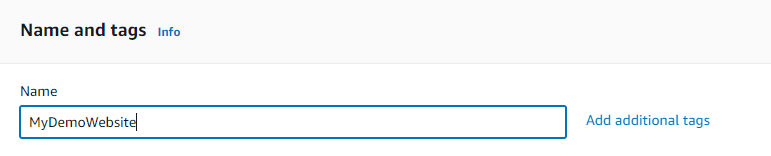
Step 3: Give a Name for the instance that you are going to create (e.g : MyDemoWebsite). You can also give additional tags.
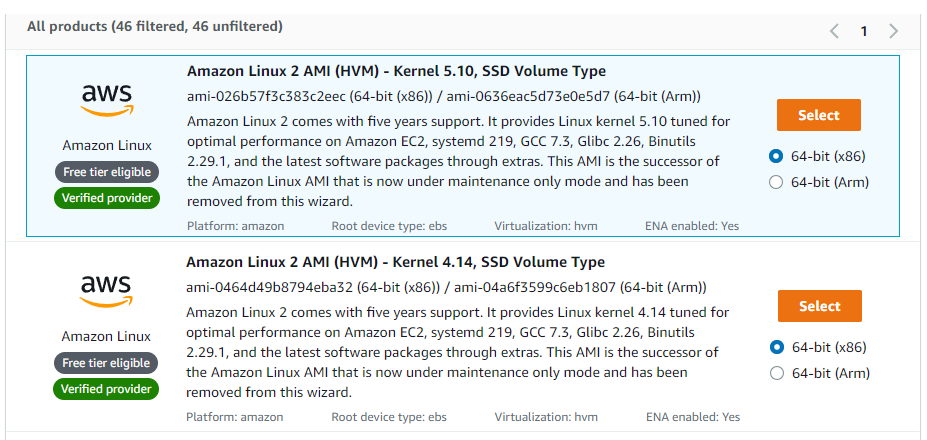
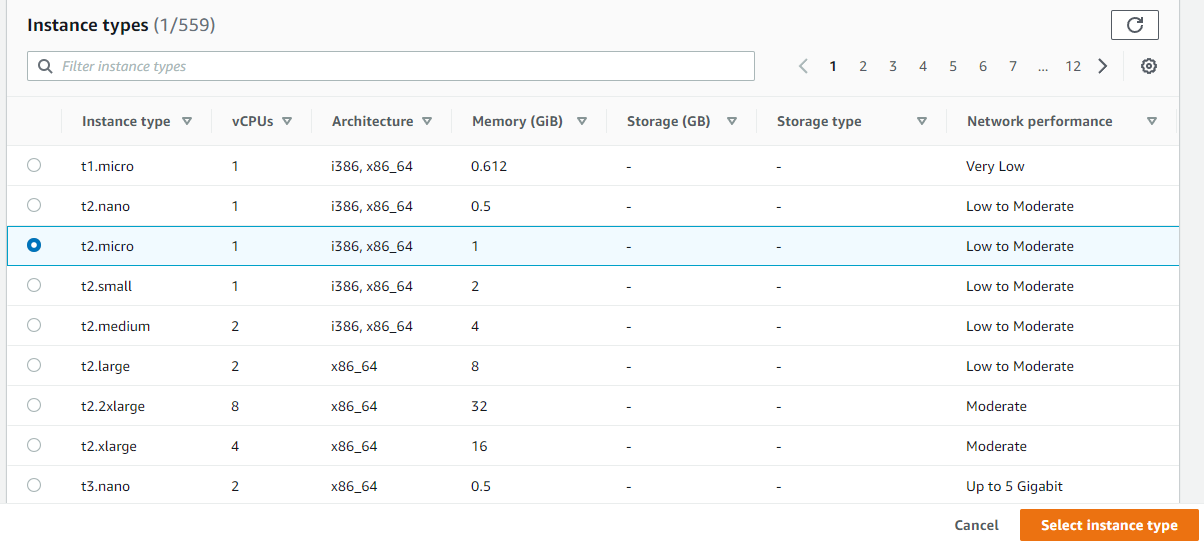
Step4: Choose Amazon Linux 2 and Instance type t2.micro (Since i am using AWS Free tier)
Amazon EC2 provides a wide selection of instance types optimized to fit different use cases. Instance types include varying combinations of CPU, memory, storage, and networking capacity. you can use any according to your needs.
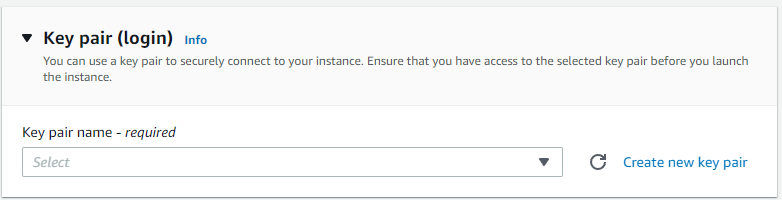
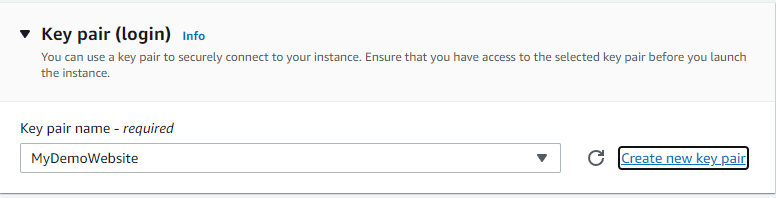
Step5: Click on "Create a new pair" and give a name say "MyDemoWebsite" to it.
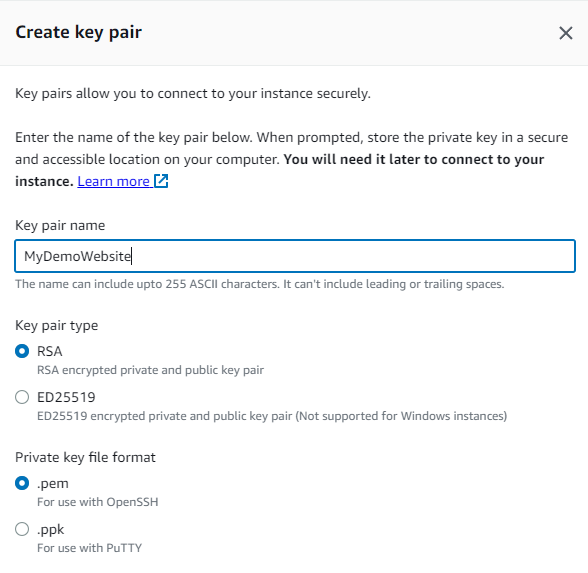
Now click "Download Key Pair" and note the folder where it gets downloaded as we will need it later.
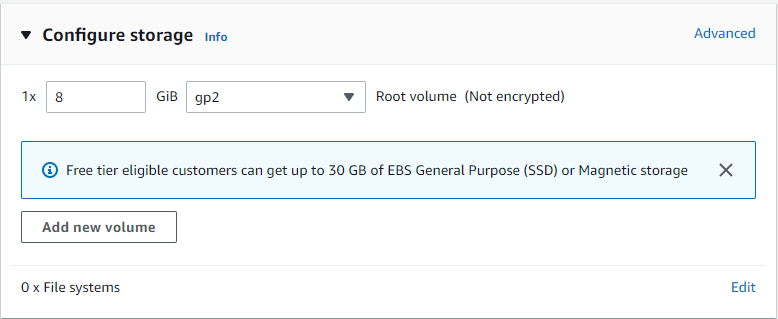
Step6: Add Storage
Amazon EC2 stores data on a network-attached virtual disk called Elastic Block Store. You will launch the Amazon EC2 instance using a default 8 GiB disk volume but you can get up to 30 GiB in the free tier. This will be your root volume (also known as a 'boot' volume).
Step7: Configure Security Group
check all the three box
Allow SSH traffic from
Allow HTTPs traffic from the internet
Allow HTTP traffic from the internet
This allows the external traffic from the internet to communicate with your instance.
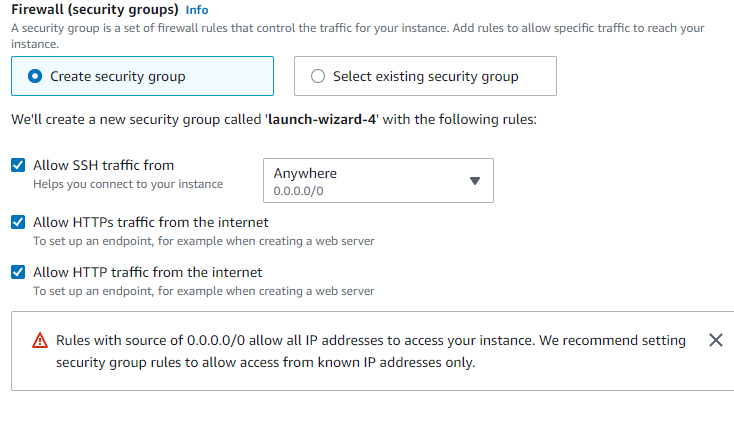
Note: There are other things to do as well since we are launching a simple static site so, we are considering basic requirements only
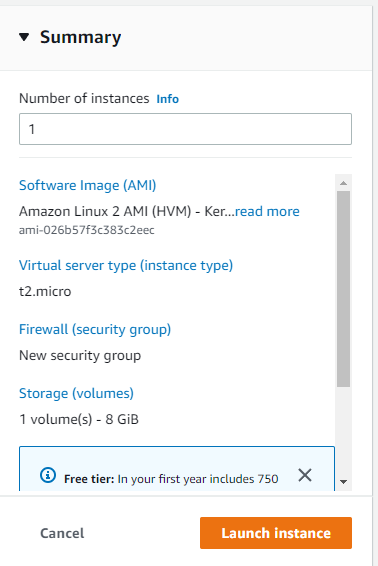
Step8: Click on Launch instances and wait till the instance is ready

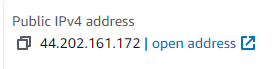
Step8: Click on your running instance and copy the Public IPv4 address
(Note: This IP address changes every time we terminate and start the instance. So, we need to attach Elastic IP but we are not doing this for now)

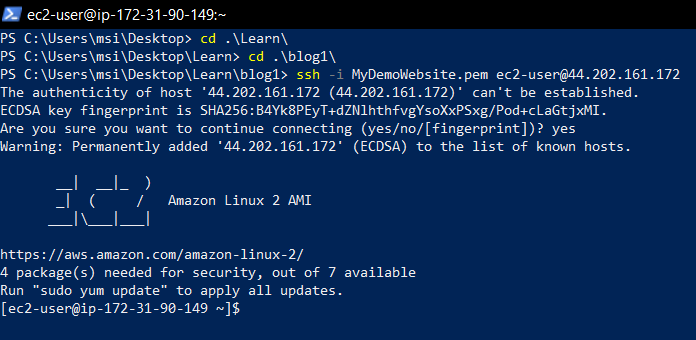
Step9: Connect the instance
We have several different ways to connect to an instance using putty, PowerShell, and even directly through the Amazon Console. I have used PowerShell but you can use your convenient method.
- Launch Powershell and go to the folder you have your "MyDemoWebsite.pem" file.
- To connect your instance use the below structure
ssh -i <name of key file><space><Public ipv4 DN>
ssh -i MyDemoWebsite.pem ec2-user@44.202.161.172
and type yes
you are now successfully connected to your instance
Step10: Installing a Web Server
- First elevate your privileges
sudo su
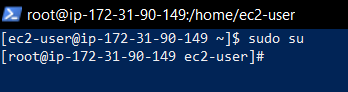
- Update all of the packages on the instance
yum install httpd -y
- Starting the webserver
service httpd start
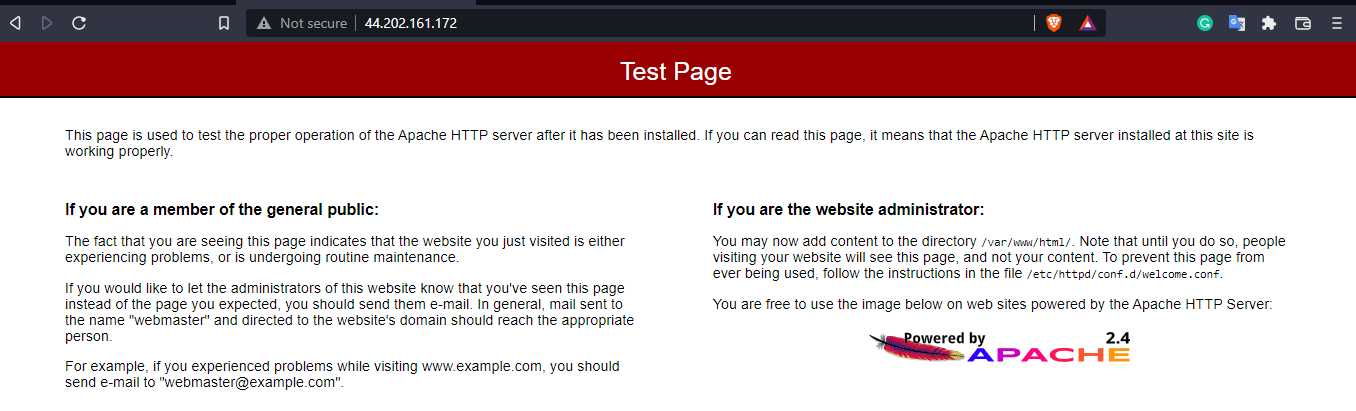
Step11: Check server Status
- Copy Public IPV4 of your Instance .

- Paste this on your browser you will see a test page as shown below
Step12: Adding static Website file
By default, the apache web server will display the index.html file found in /var/www/html directory in the root path of your website so go to that directory.
cd /var/www/html
- Create index.html file
nano index.html
- Add contents to your HTML file
'<h1>' Congratulations !! you have sucessfully deployed static website in amazon EC2</h1>
- Boom!! You are all Done .

Thank you !!