
Streamlining User Management in Your Applications with Amazon Cognito
Cloud Engineer | AWS Community Builder
Amazon Cognito is a fully managed identity service that makes it easy to add user sign-up, sign-in, and access control to your web and mobile apps. It provides a secure and scalable way to authenticate users and supports social and enterprise identity providers.
Benefits of Amazon Cognito:
It's easy to use: Amazon Cognito provides a simple API that makes it easy to add user authentication and access control to your apps.
It's secure: Amazon Cognito uses industry-standard security practices to protect your users' data.
It's scalable: Amazon Cognito can handle millions of users and is designed to scale with your app. Support for multiple identity providers
User pools: Amazon Cognito user pools are a great way to manage user accounts for your app. User pools provide a central place to store user data, such as passwords, email addresses, and phone numbers.
Federated identities: Amazon Cognito federated identities allow your app to access AWS resources without the user having to sign in to your app.
Let’s dive into the Demonstration :
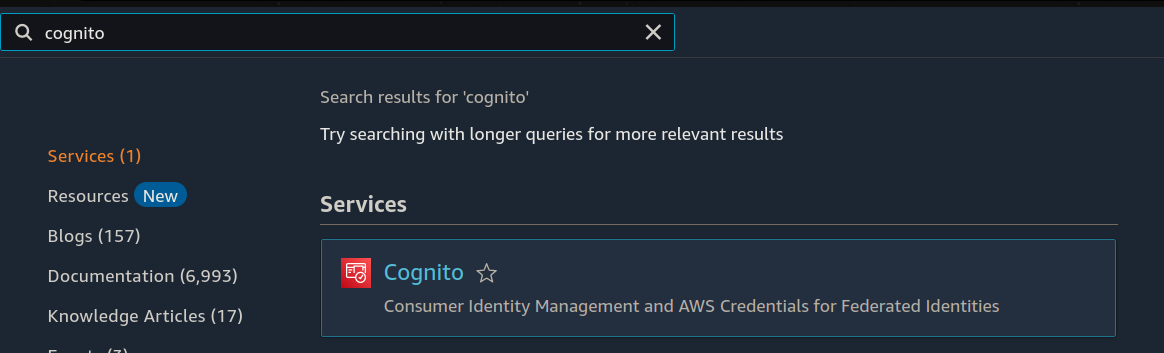
Step 1: Go to the AWS Management Console Search for Cognito And Click on it.
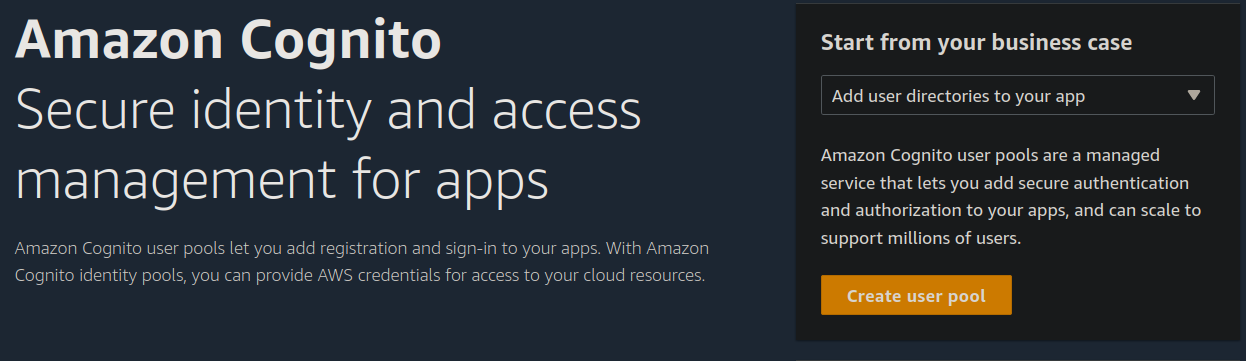
Step 2: Click on Create user pool.
Step 3: Under the Authentication Providers:
Choose Cognito User pool
Select Email from Cognito user pool sign-in options.
Click on Next.

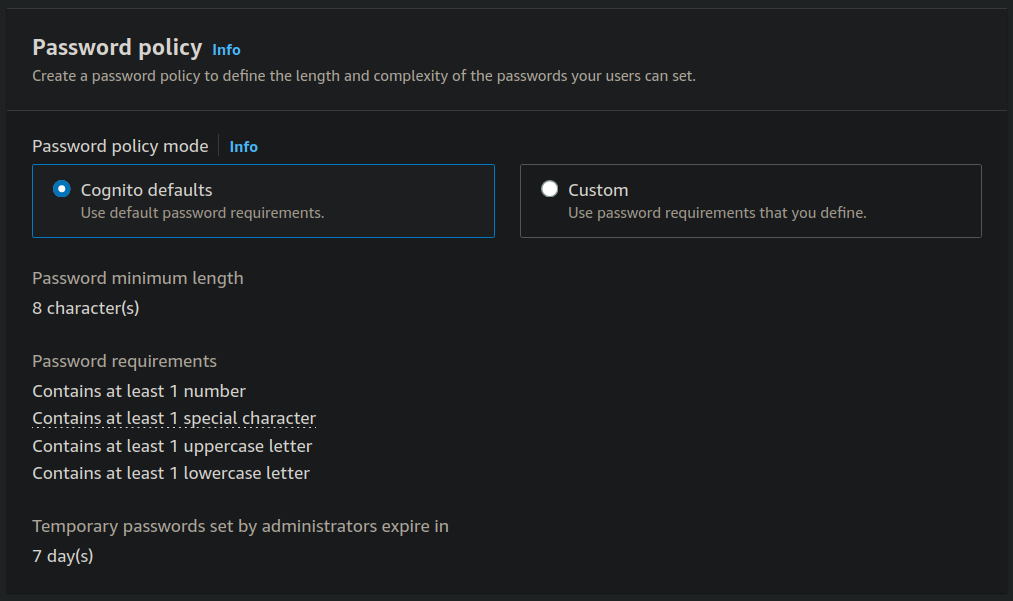
Step 4: From the Password policy, select the Cognito defaults. You can also create your custom password policy.
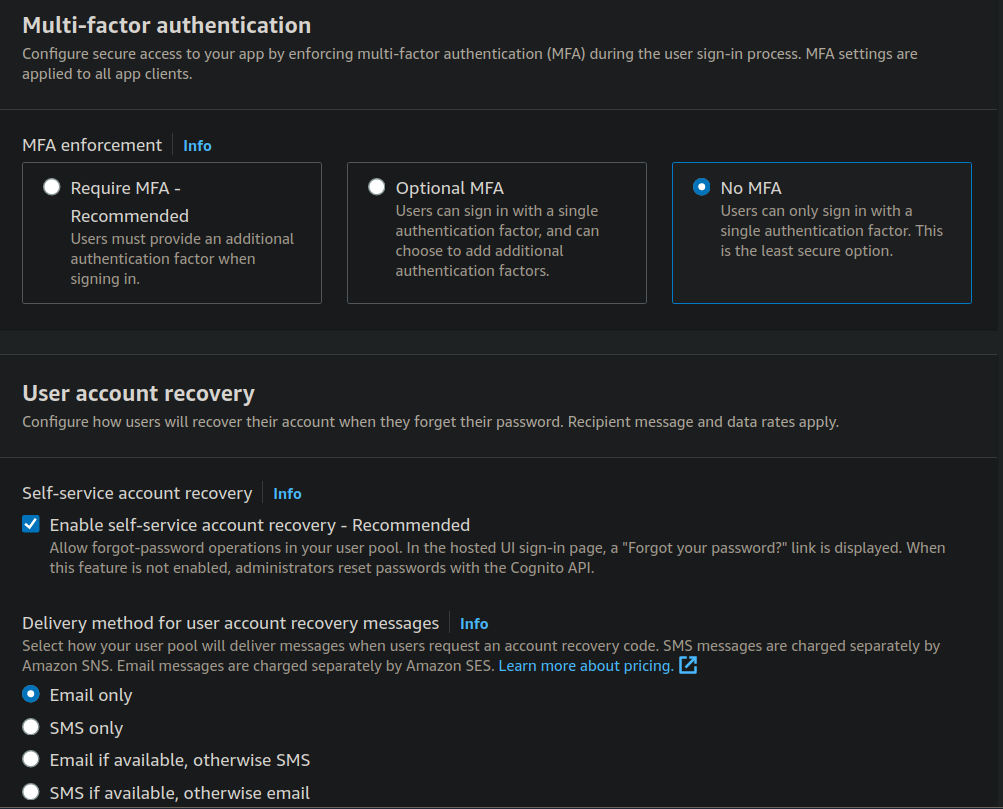
Step 5: Make sure that you Enable self-service account recovery.
From the Delivery method for user account recovery messages, choose Email
Click on Next.
Step 6: From the Multi-factor authentication
choose No MFA
select on Enable self-service account recovery
Select email only from Delivery method for user account recovery messages.
Step 7: Click on Next

Step 8: Under Configure Sign-up experience, Enable self-registration

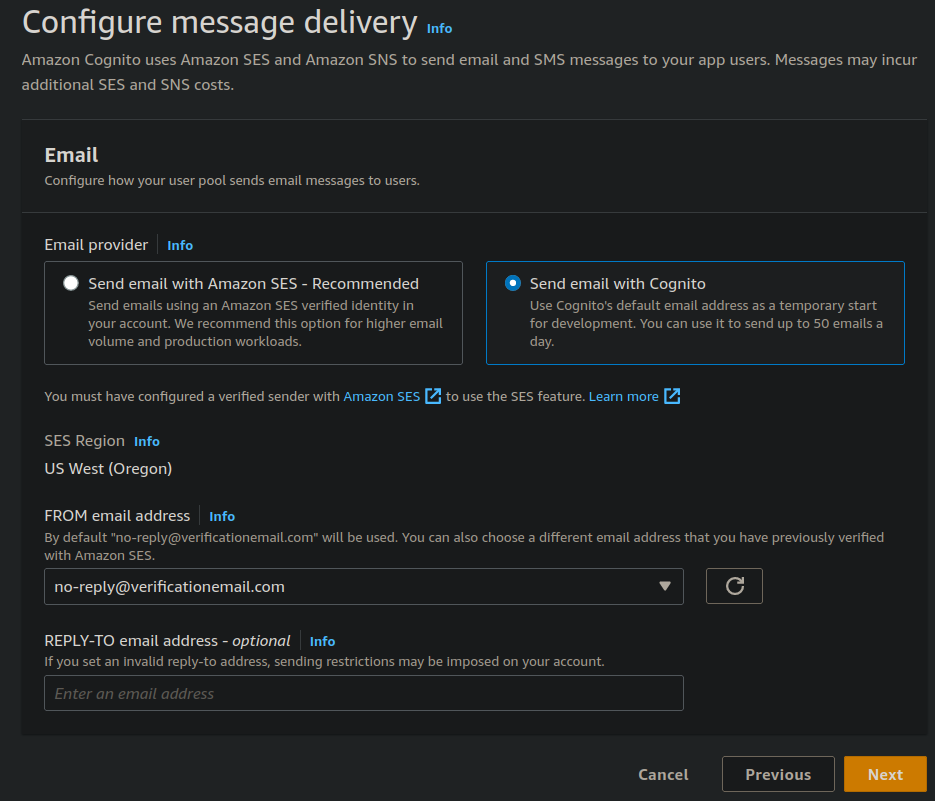
Step 9: From the Configure message delivery
Select send email with cognito
Click on Next
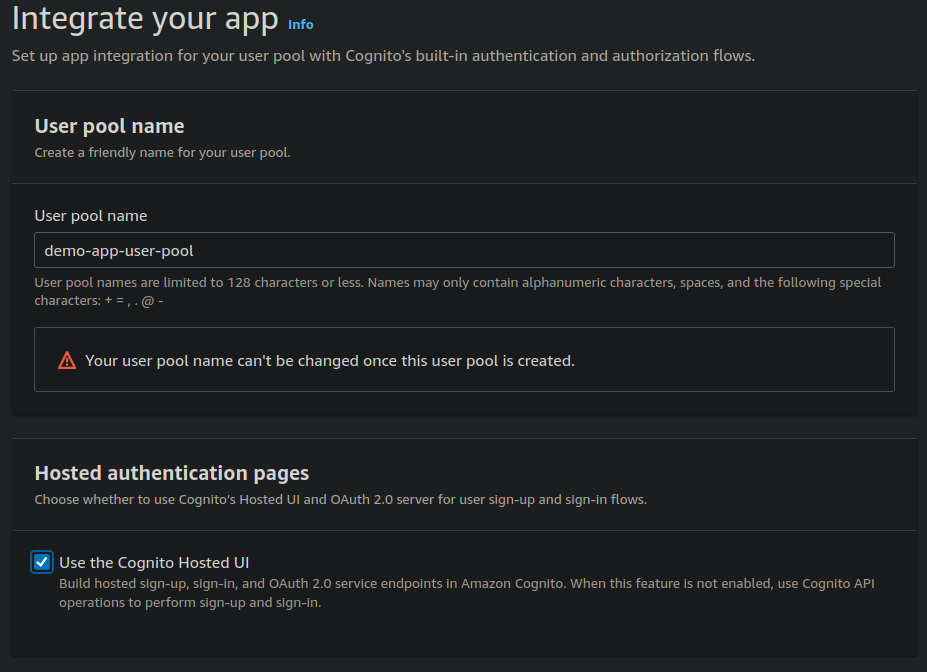
Step 10: Under Integrate your app
Give a name to the user pool, For now we say it “demo-app-user-pool”
Select the Use the Cognito hosted UI
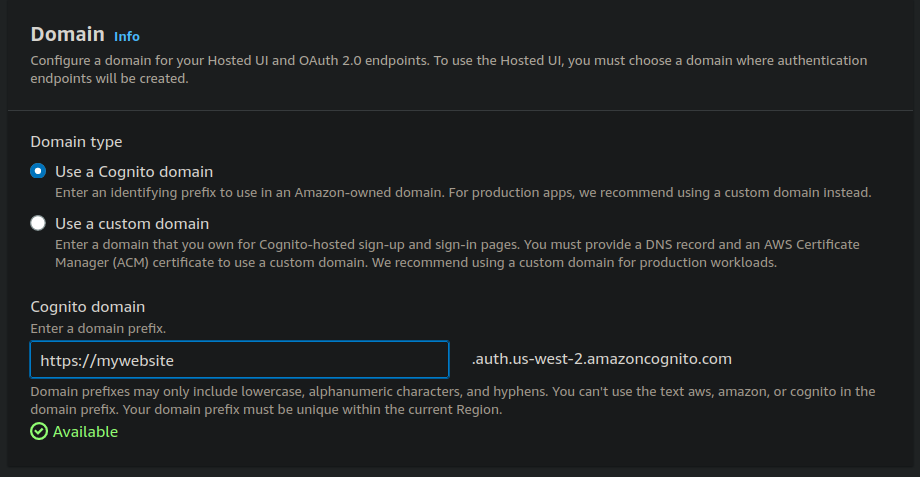
From Domain, Select the Use a cognito domain and enter the domain prefix, let's say https://mywebsite
Step 11: Under the Initial app client,
choose Public client from App type
Give it a app client name let’s say “DemoApp”
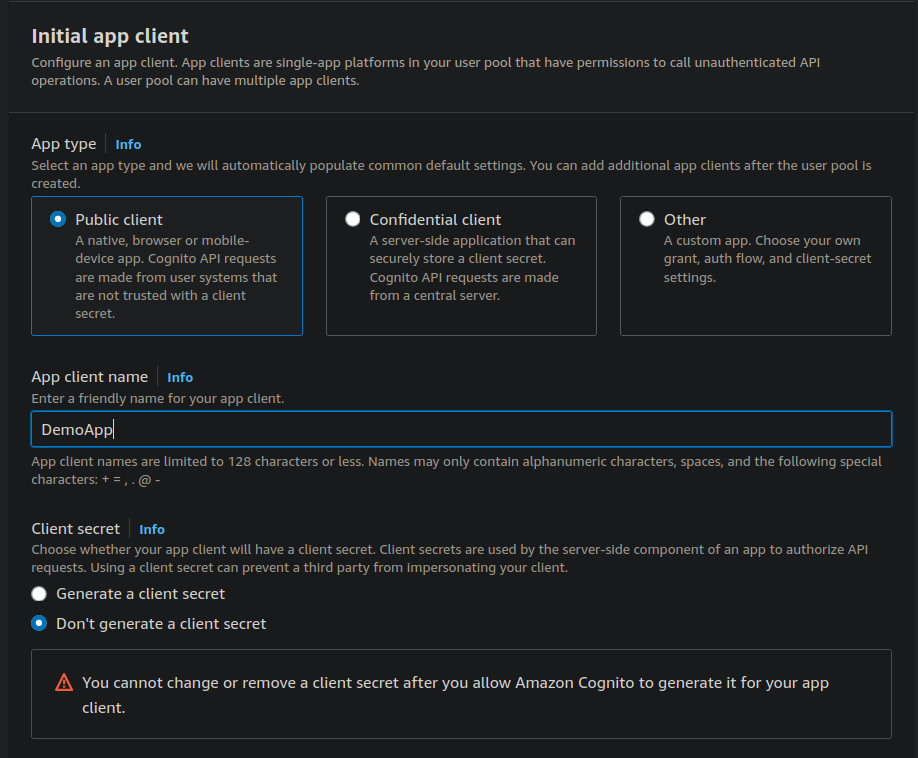
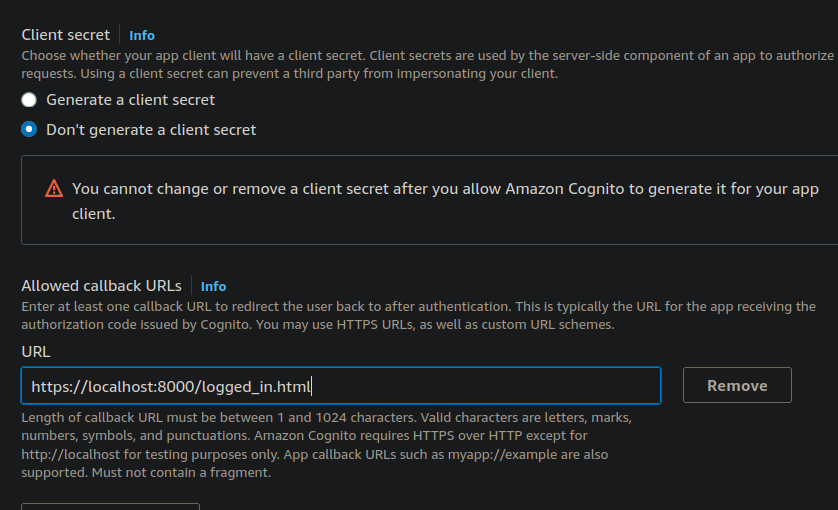
Step 12: In the Client Secret we must provide the Callback URls so, For now
https://localhost:800/logged_in.html
Note: We will create a file name logged_in.html that’s why we are using it at localhost. When we enter our credentials we will be on this logged_in.html page.
Step 13: Click on Next

Step 14: From the Review and Create go to the end and Click on Create user pool.

Step15: You will see the User pool named “Demo-app-user-pool” Click on it.
Select the App integration
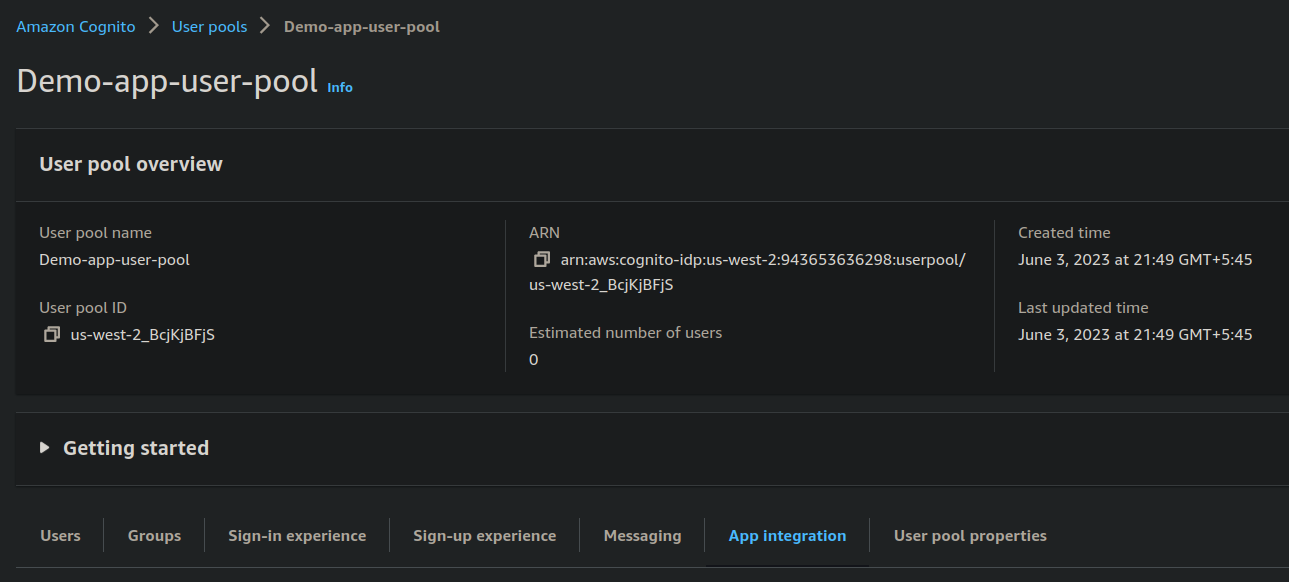
Step 16: Scroll down at the end you will see App Client list, and there you’ll find App client name “DemoApp”
Click on it.
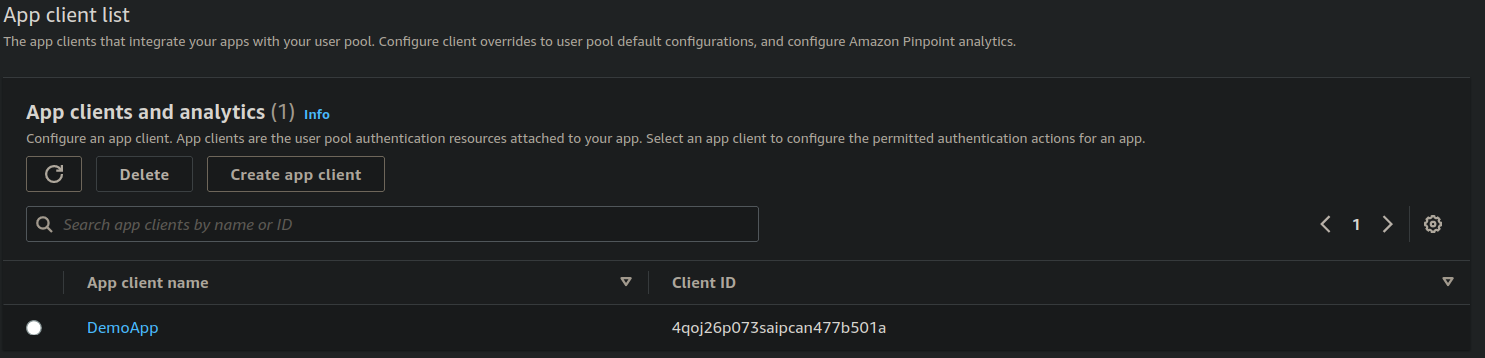
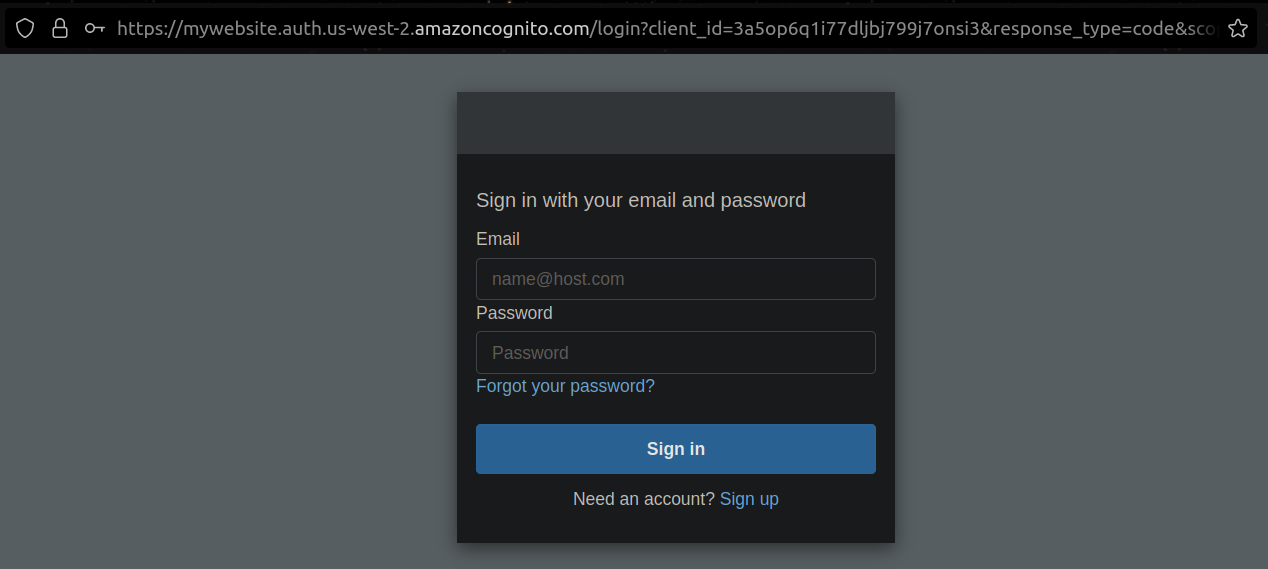
Step 17: Under the “DemoApp” you will see the “Hosted UI” and on the right side you’ll find “View Hosted UI”, Click on it.

You will redirect to the web browser. Now copy the Link of this login form page.

Step 18: Open the VS code and make a folder and inside it create two files named index.html and logged_in.html Paste the following code in the index.html file
<body>
   <h3>Welcome to my Website</h3>
   <a href="#">Register|Login </a>
</body>
</html
On the href =”< paste the link copied from the login page form>”

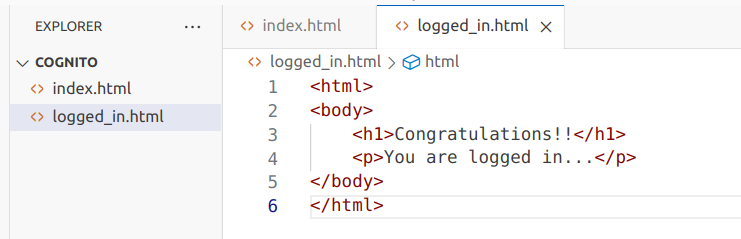
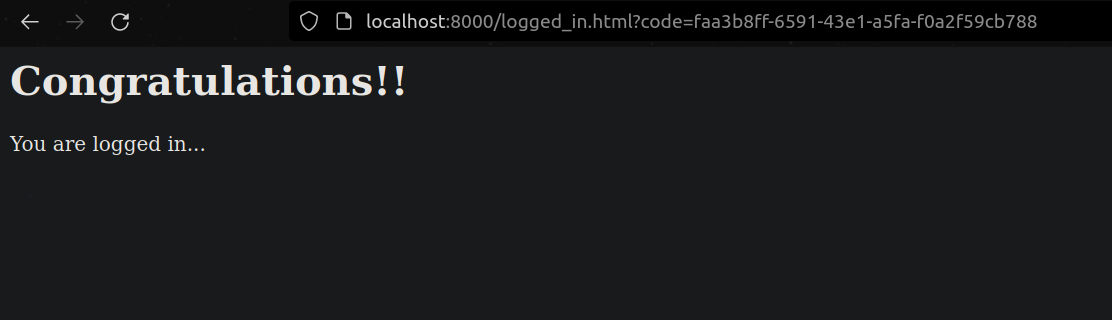
In the logged_in.html Paste the following code
  <html>
  <body>
     <h1>Congratulations!!</h1>
     <p>You are logged in...</p>
  </body>
  </html>
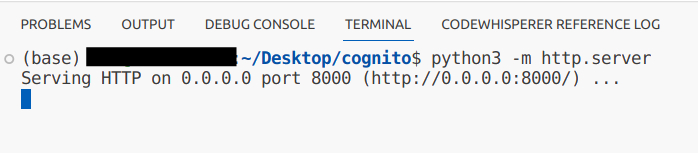
Step 19: Now open the terminal and type the following command.
python3 -m http.server
Now, click on the (http://)
You will be redirected to this page.
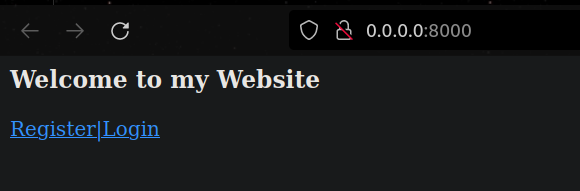
Click on the Register|Login and you will be redirected to the login and sign up page.
Since you are trying to access it for the first time you must Click on Sign up and you will receive a confirmation code in your mail and verify it.

Step 19:After you verify you can navigate back to the “Demo-app-user-pool” and under “Users” you can see the user with status confirmed.

Step 20: when you enter your credentials you will redirect to the Logged_in.html page.
Finally, You have successfully completed this demonstration. Now, you will be able to connect your website with Aws Cognito to add user sign-up, sign-in, and access control to your web and allow only authenticated users.