


Host a WordPress site with amazon Lightsail and map the domain from a third-party registrar to it


Overview
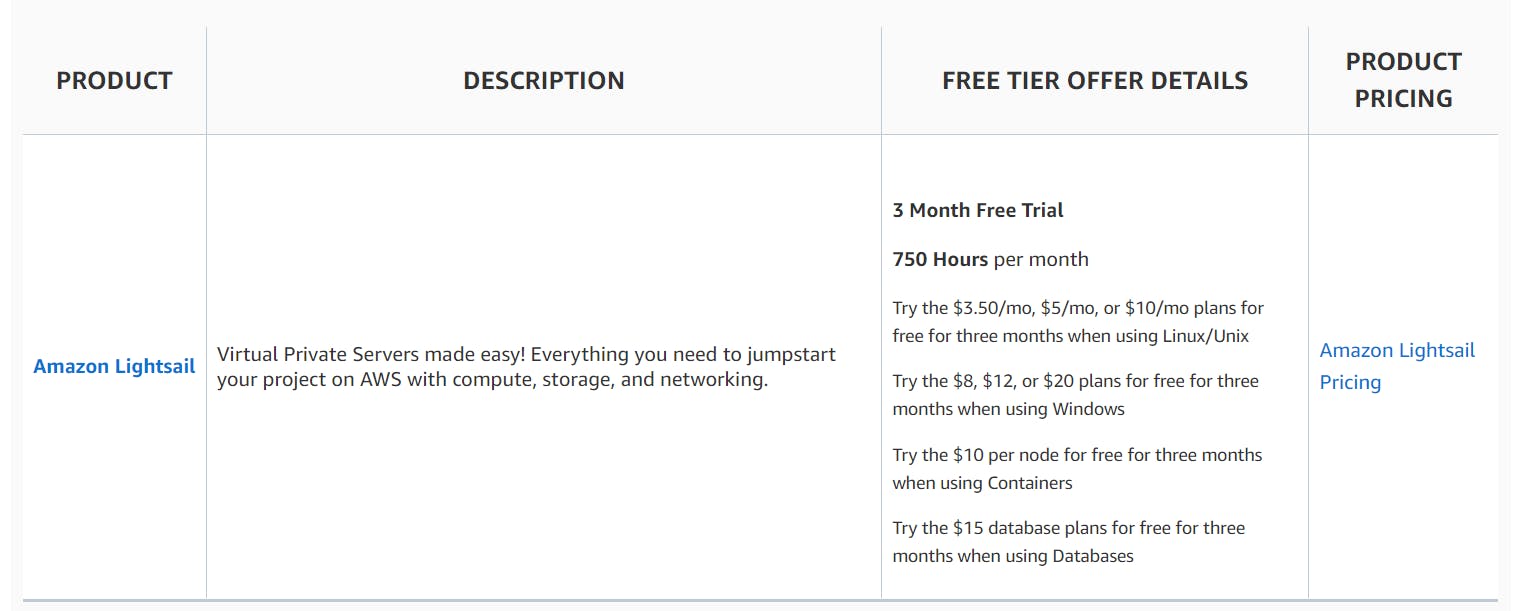
Amazon Lightsail is the easiest way to get started with Amazon Web Services (AWS) for developers, small businesses, students, and other users. Lightsail provides developers compute, storage, and networking capacity and capabilities to deploy and manage websites and web applications in the cloud. Lightsail includes everything you need to launch your project quickly – virtual machines, containers, databases, CDN, load balancers, DNS management, etc. – for a low, predictable monthly price.
Pricing
Now let us launch the WordPress site in Lightsail
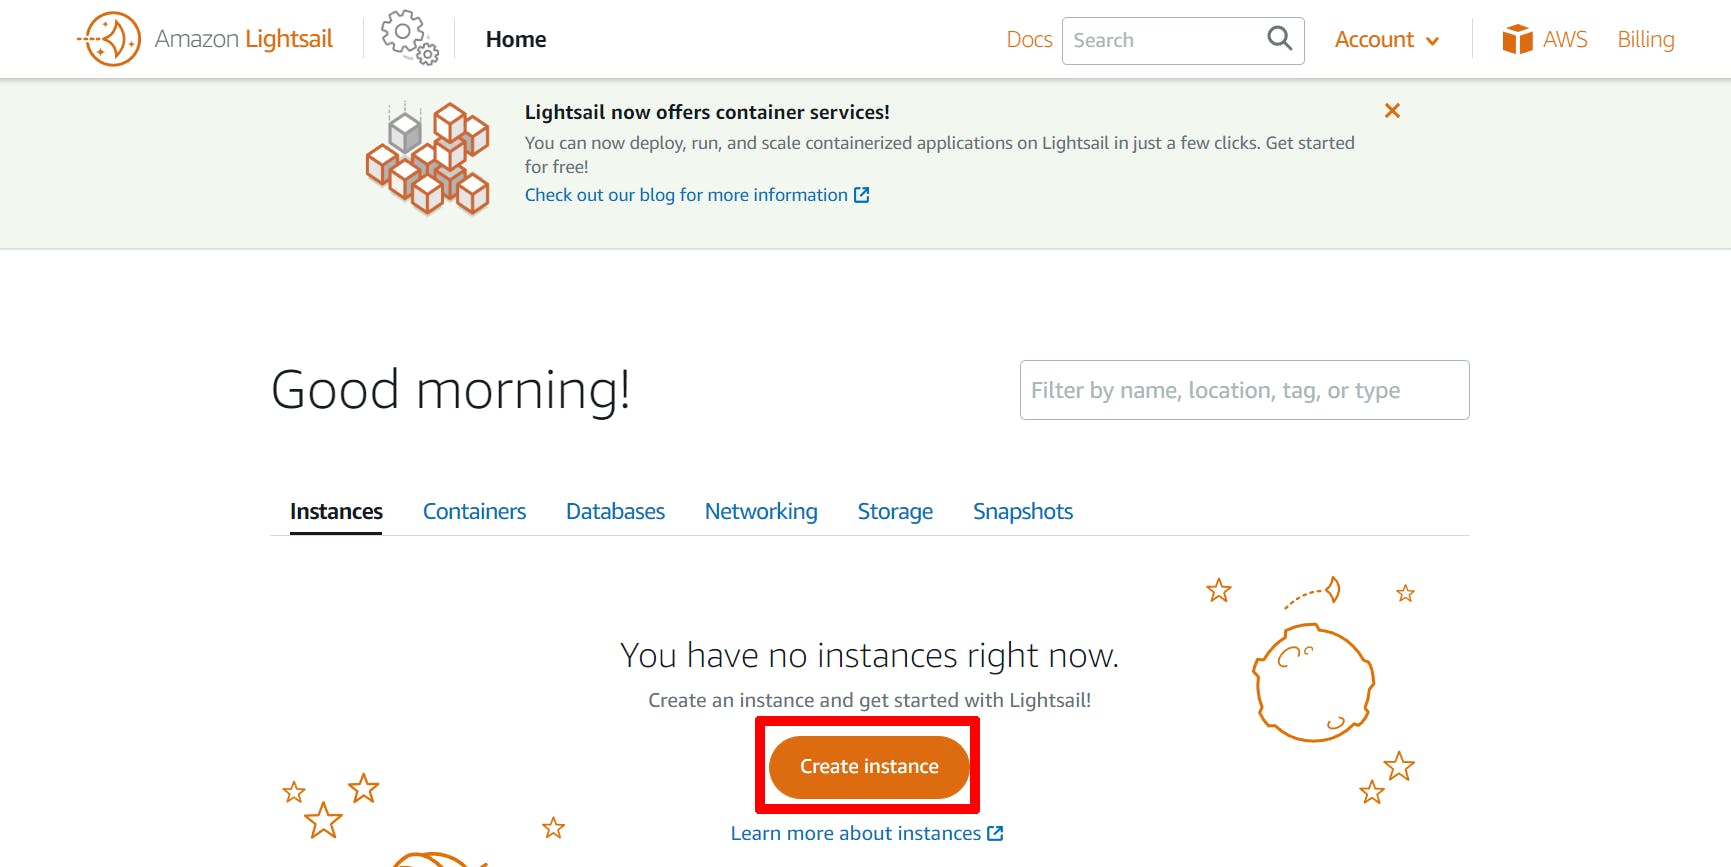
Step1: Open Lightsail and create an instance
you can click "Let's get started" or click on "Create instance" if you got another Dashboard

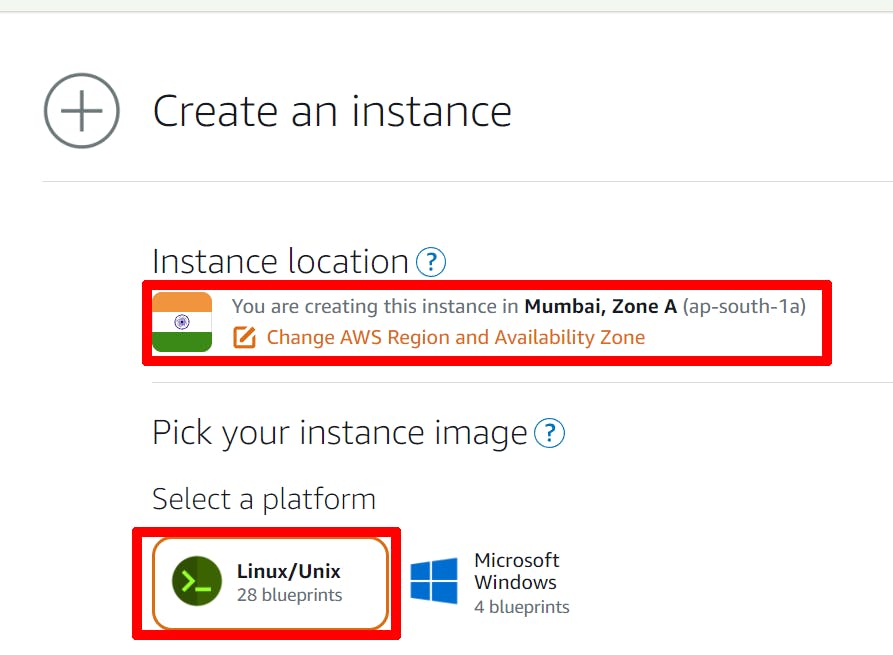
Choose Change AWS Region and Availability Zone also choose your instance image.
You can choose the nearest AZ or region to you and Choose Linux/Unix as the platform
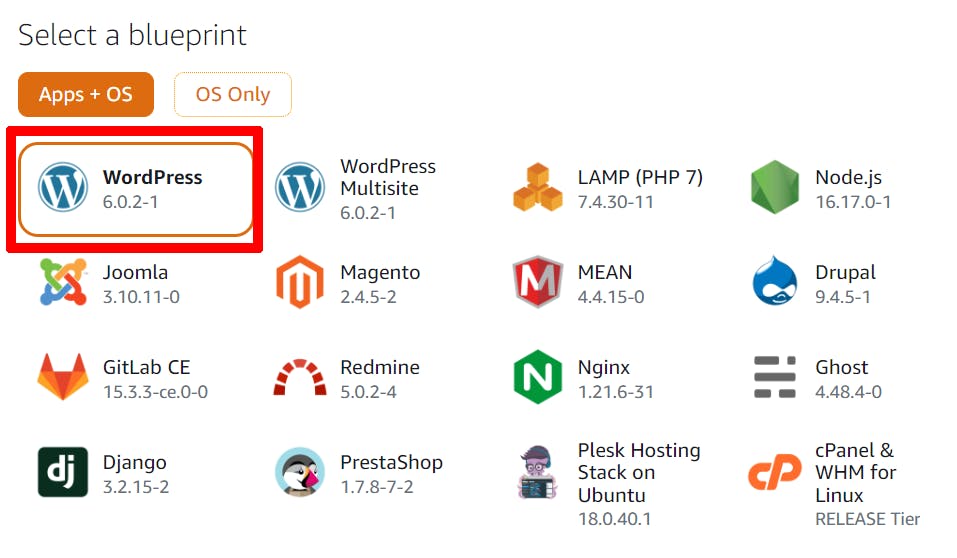
Choose WordPress as the blueprint.
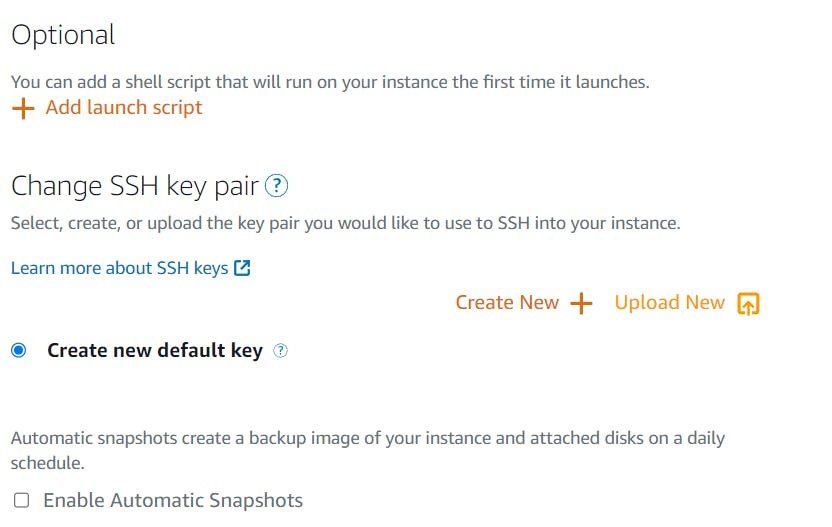
Setup launch script and ssh key pair if necessary (optional)
Choose your instance plan
I have chosen the first one because it is included in the free tier

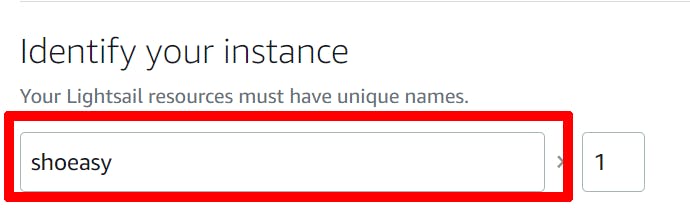
Enter a name for your instance and choose Create instance.
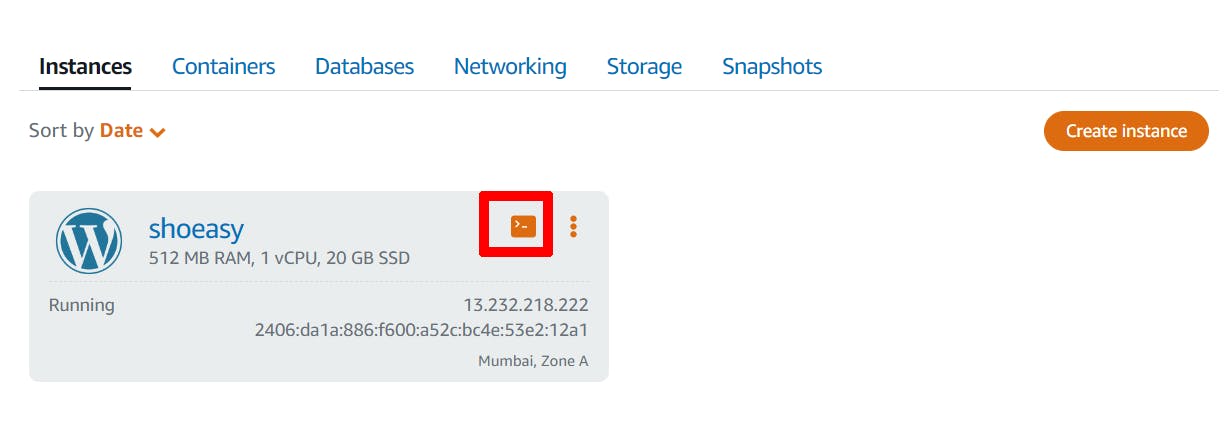
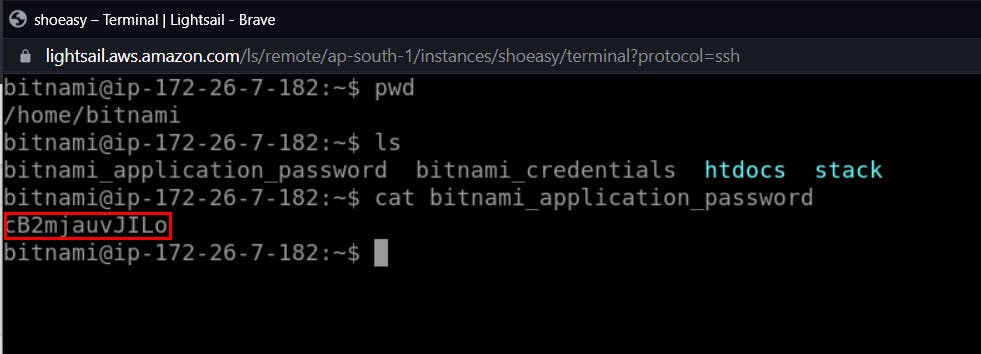
Step2: Connect to your instance via SSH and get the password for your WordPress website
choose the SSH quick-connect icon for your WordPress instance.
you get a screen like below
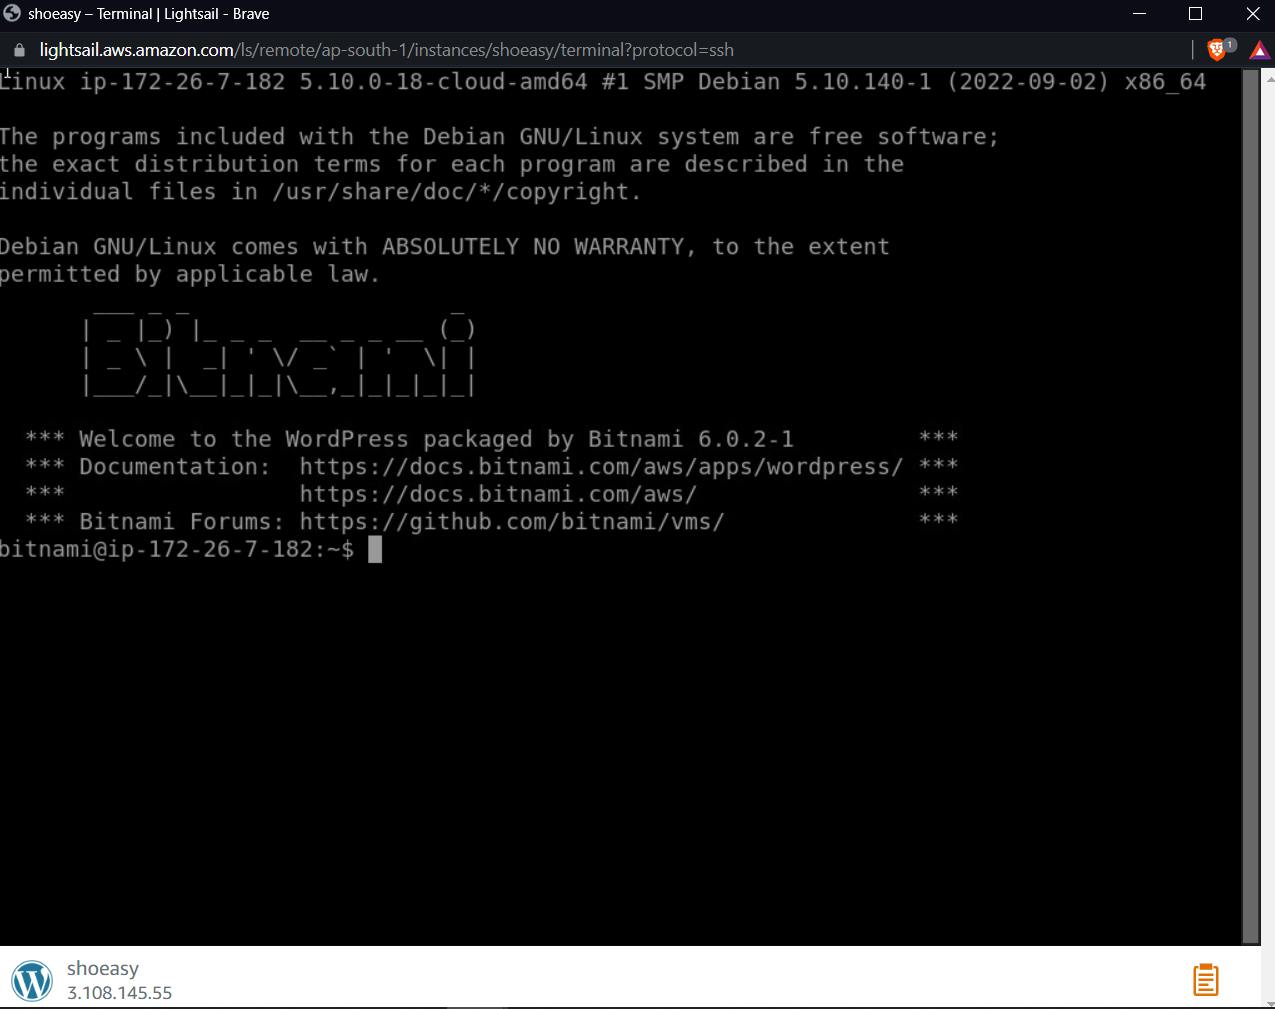
Enter the following command to retrieve the default application password
cat bitnami_application_password
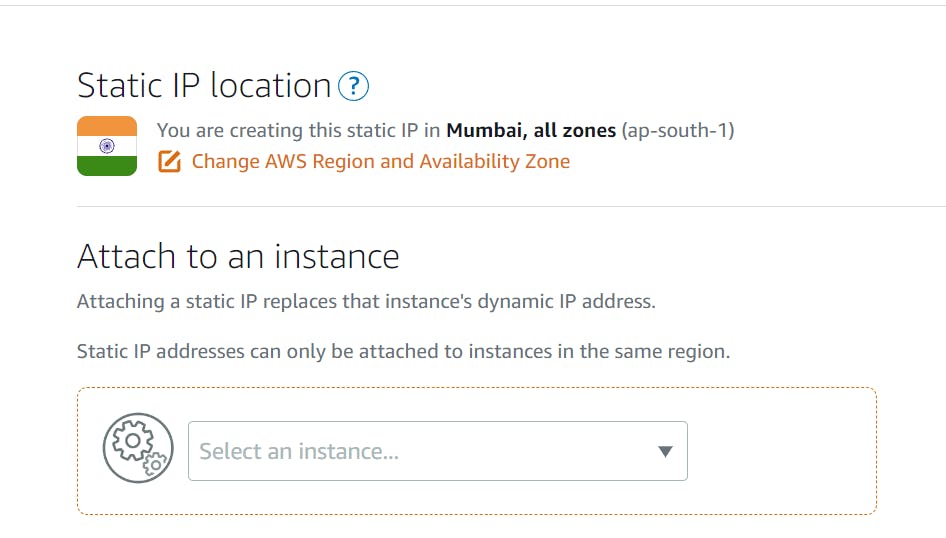
Step3: Create a static IP address and attach it to your WordPress instance
Goto Lightsail dashboard and click on Networking

Create Static IP

Select IP location and attach to the instance
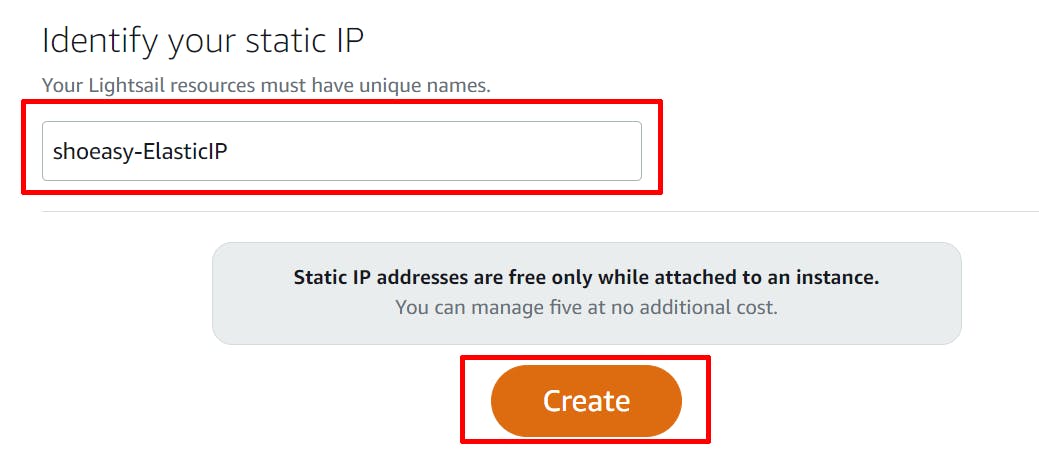
Give a name to your IP and Create
Step4: Sign in to the admin dashboard of your WordPress website
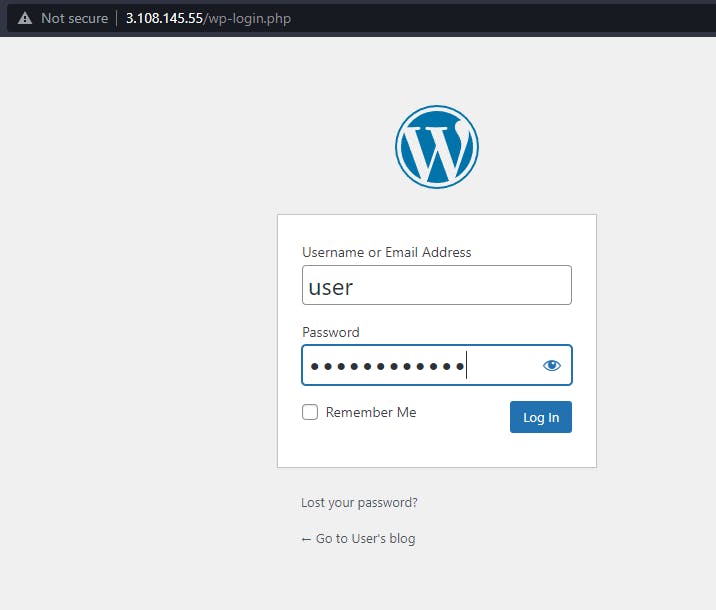
Copy the Static IP that you created in step3 and add /wp-login.php and paste it on your browser
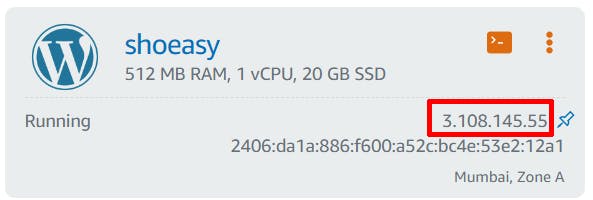
YourStaticIP/wp-login.php
3.108.145.55/wp-login.php
login to WordPress using the password you obtained from Step2
Default username: user
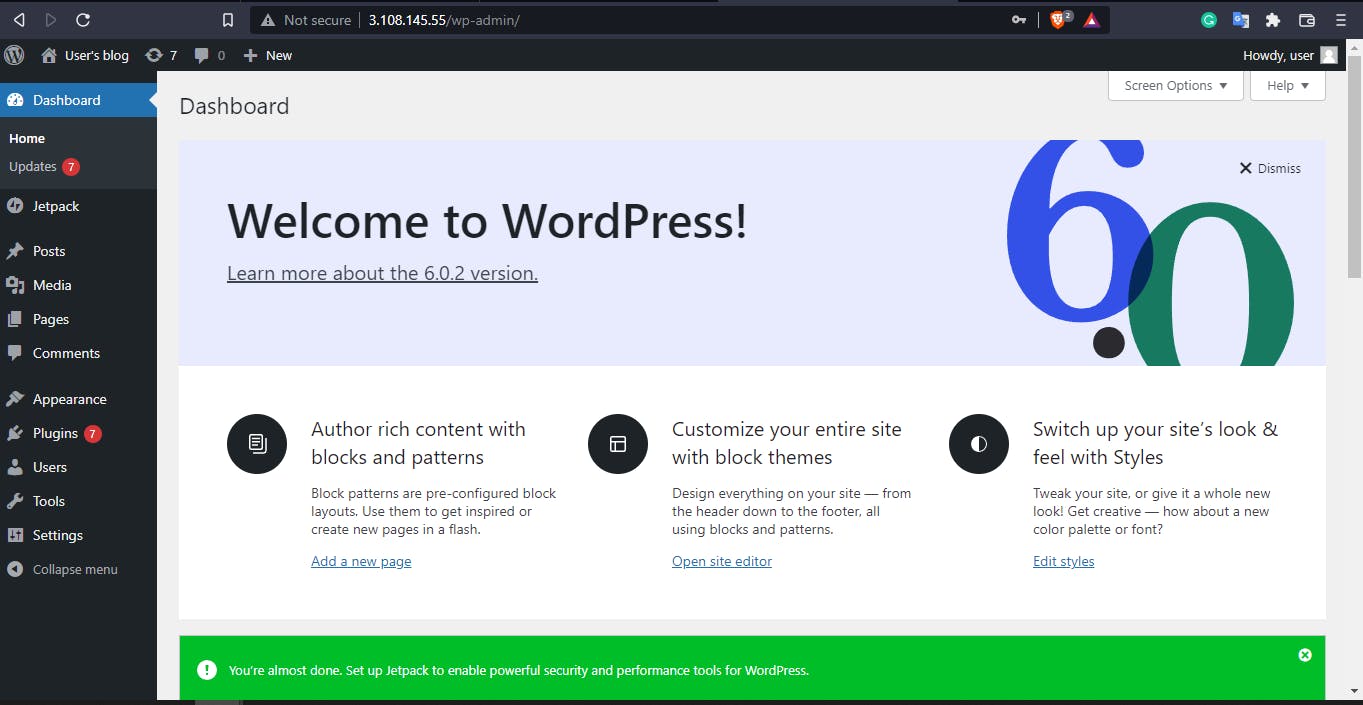
Boom!! You are successfully login to the admin dashboard
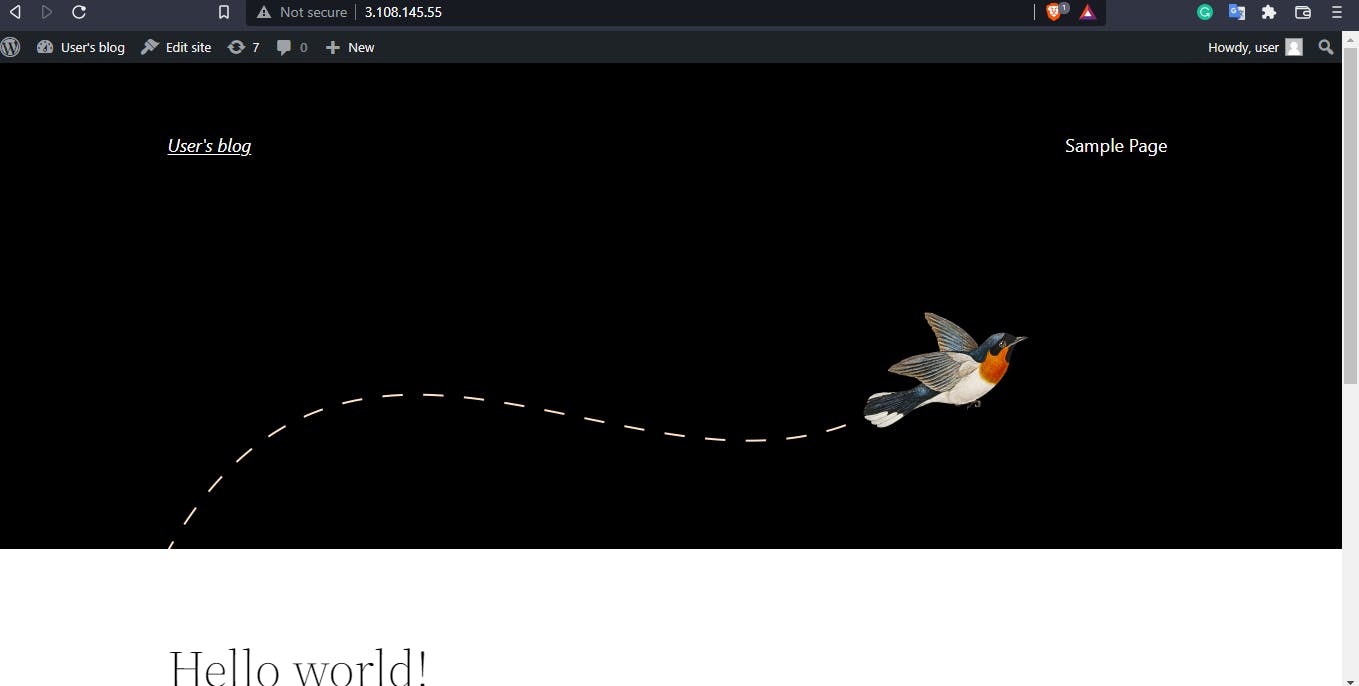
Also the site is live
you can check by pasting static IP in your browser
Step5: Mapping static IP to a custom domain
Note: I have used a domain from Namecheap you can purchase it from route53 or any third-party domain registrar
Open Route53 and Create a hosted Zone
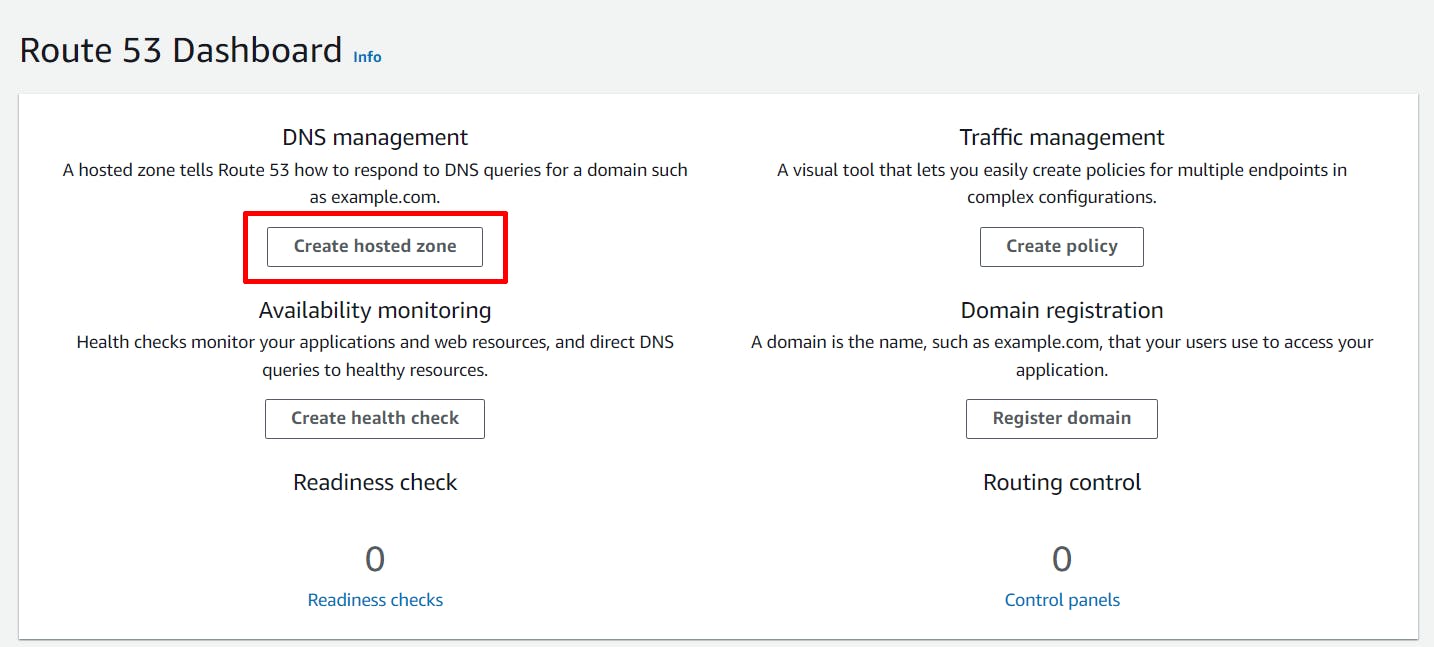
Give the domain name that you purchased (say: shoeasy.me) and Create hosted zone
you may add a description and set type to public hosted zone

You will get nameservers, copy that nameserver and add it to your domain DNS

Note: It might take up to 48 to update the nameservers but if you are using route53 the process is fast.
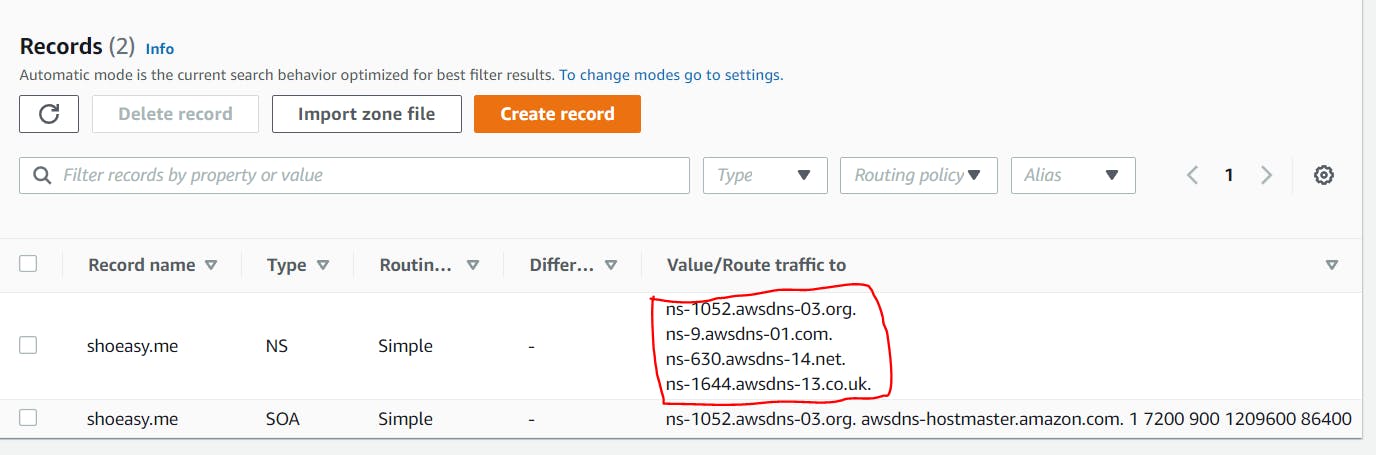
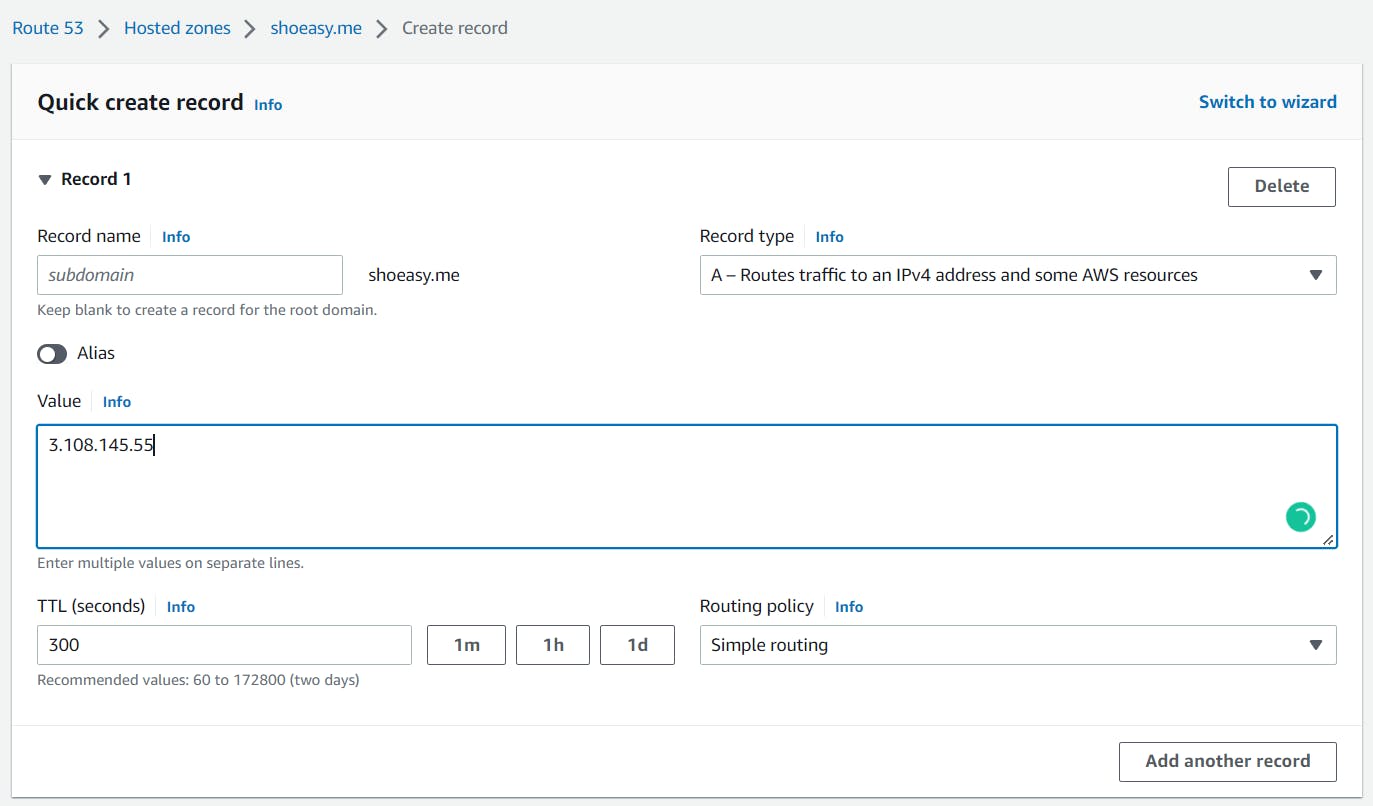
Create a record and map your WordPress IP to a custom domain name
leave the record name empty, Choose Record type to A, and on Value paste the Static IP. I have chosen a simple routing policy but you can use it according to your requirements
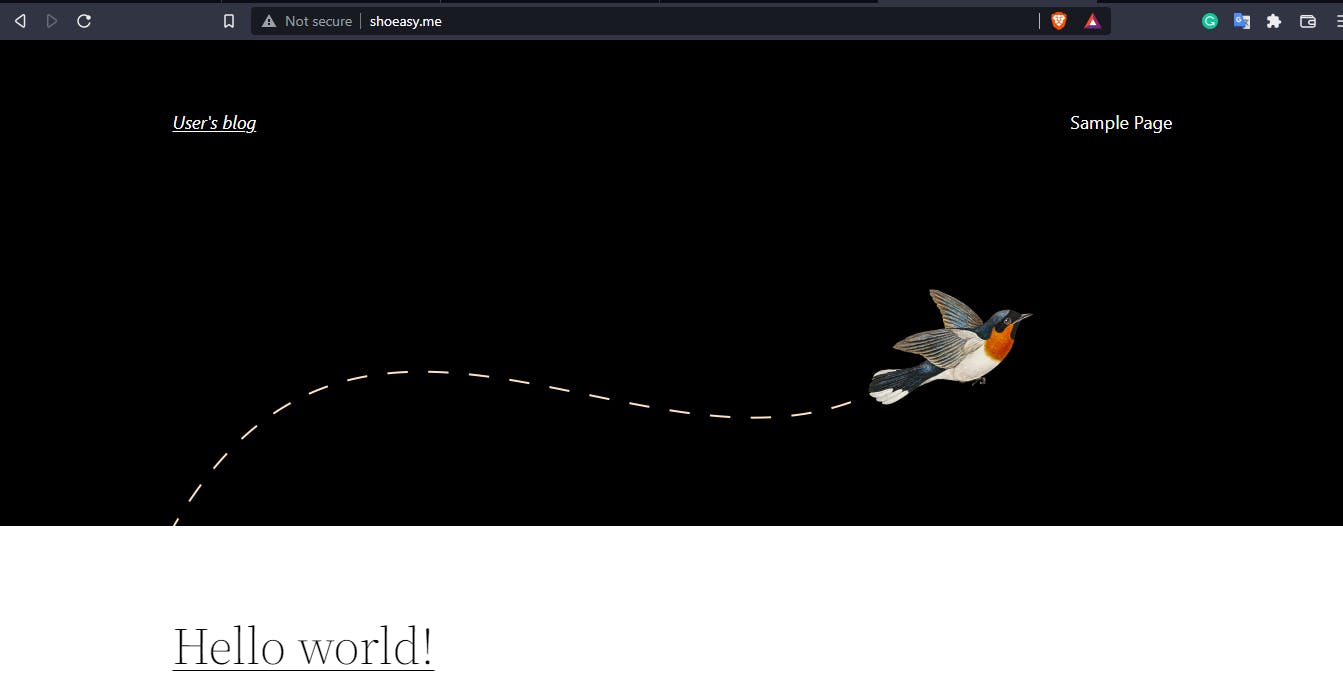
After nameservers are updated you can view/log in to your website using your custom domain
#Thank You